Recent Posts

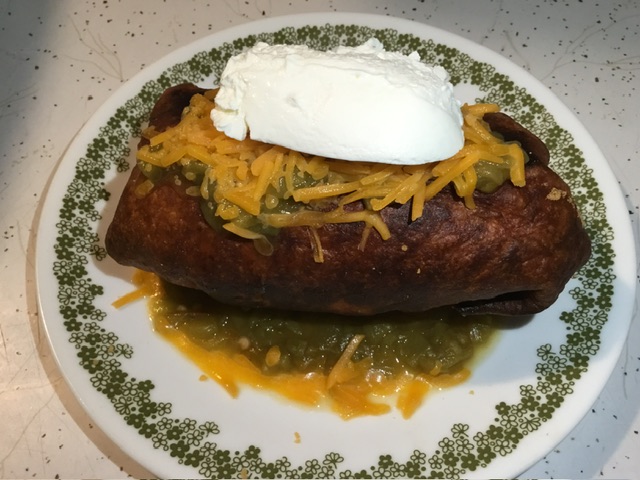
Chimichangas
Chimichangas
In the mood for Tex-Mex? Chimichangas are the solution to what you crave. The burrito was created in a Mexican restaurant in Arizona in the 1920’s, where a burrito was dropped accidentally in a deep fryer. Low and behold, it birthed the chimichanga. The chimichanga increased in popularity throughout the 1950’s, becoming a staple at many Mexican restaurants.
Ingredients
- 12” flour tortilla
- refried beans
- Mexican rice
- meat of your choice pork, chicken, beef
- shredded cheese
- hot sauce of your choice
- vegetable oil for frying
- 1/2 cup salsa rojo or verde
Instructions
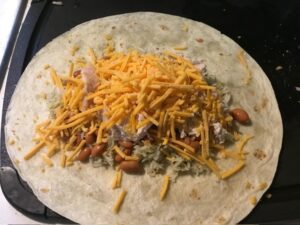
- Lay a flour tortilla on a flat surface. Spread beans across the surface; followed by Mexican rice, meat, cheese, and hot sauce.
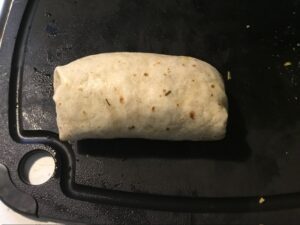
- Fold into a burrito; making sure both sides are tucked in.
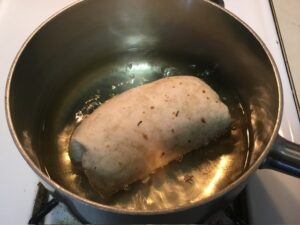
- Fill up a medium sized pot with 2” of vegetable oil over medium heat. Place the folded side of the burrito into the oil. Fry for 2-3 minutes until golden brown.
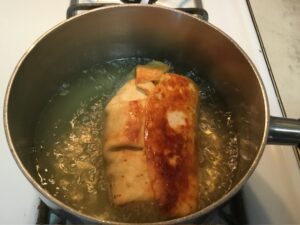
- Flip over and fry for another 2-3 minutes.
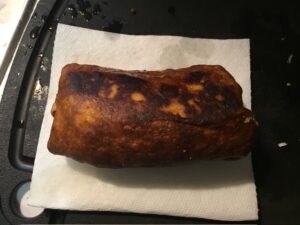
- Drain the grease on a paper towel.
- Pour either salsa verde or rojo over the burrito. Top with more cheese and sour cream.


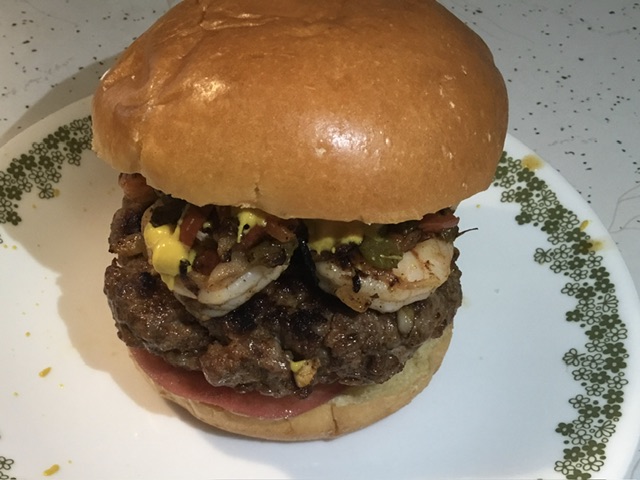
Jambalaya Burger

Jambalaya Burger
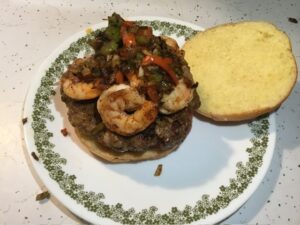
I’ve seen multiple recipes online for jambalaya burgers; all using ground beef patties. What sets my burger apart from everything else on the internet is that mine uses a raw ground andouille sausage. And the reason why is that people might have a problem finding raw ground andouille sausage. Almost all andouille sausage you find in a grocery is going to be smoked. My meat department happens to make a raw andouille sausage. If you can find a raw andouille sausage, take it out of the sausage casings and form it into patties. If not, I’m attaching my recipe for andouille sausage below this one. Just skip the stuffing and smoking. Beyond this andouille rant, this is one of the best burgers I’ve ever had; by far. I’m such a big fan of Cajun and Creole cuisine, I turned one of my favorite dishes, jambalaya, into a spicy, juicy, burger of meteoric proportions. Once again, I made an andouille sausage patty topped with Creole shrimp, the trinity(onion, celery, and bell pepper), and sliced heirloom tomato; with creole mustard on top of a toasted brioche bun.
Servings: 2 burgers
Ingredients
- 1 lb ground andouille sausage
- 2 tbsp vegetable oil divided
- 1/4 cup white onion finely chopped
- 1/4 cup red bell pepper finely chopped
- 1/4 cup celery finely chopped
- 3 garlic cloves minced
- 8 large 16/20 ct. shrimp peeled and deveined; tails removed
- 2 tsp creole seasoning
- 2 brioche buns toasted
- heirloom tomato sliced
- creole mustard
Instructions
- Heat up 1 tbsp of vegetable oil in a sauté pan over medium high heat. Sauté the onion, celery, and bell pepper for 4 minutes.
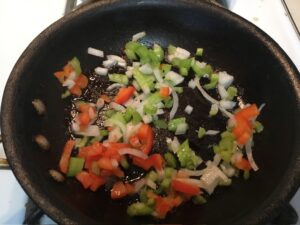
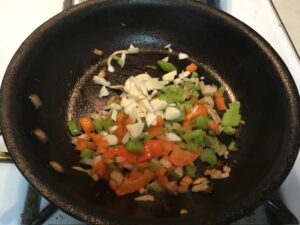
- Add in the garlic and cook for a minute.
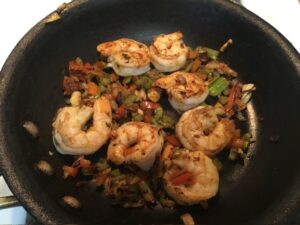
- Add in another tbsp of vegetable oil. Season the shrimp with creole seasoning. Add to the pan and cook for 2 minutes.
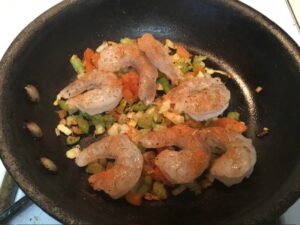
- Flip the shrimp and cook for 2 more minutes. Remove the contents from the pan.
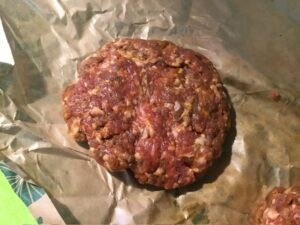
- Divide the ground andouille sausage into 2-8oz patties.
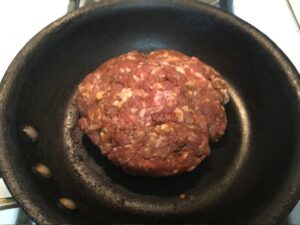
- Pan fry the patty for 6 minutes over medium high heat.
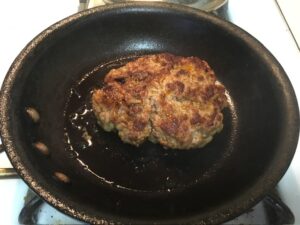
- Flip the burger and cook the patty for 4 minutes; covered.
- Put each patty on a toasted brioche bun. Place 4 shrimp on top the patty. Evenly distribute the sautéed vegetables on top of the shrimp. Top with creole mustard.

Smoked Andouille Sausage
Andouille sauasage is the famous staple of the cajun and creole cuisine of Louisiana. With it’s origins from French charcuterie, andouille sausage consists of coarse ground pork heavily seasoned with salt, pepper, cayenne, thyme, sage, paprika, and a large amount of garlic. The pork is stuffed into casings and slowly smoked with pecan wood. Andouille can be used in numerous cajun dishes such as jambalaya and gumbo.
Equipment
- food processor
- meat grinder
- sausage stuffer
- twine
- Electric Smoker
Ingredients
- 8 lbs pork shoulder
- 40 garlic cloves
- 2 tbsp salt
- 1 tbsp paprika
- 1 tbsp smoked paprika
- 2 tsp black pepper
- 2 tsp cayenne pepper
- 1 tsp thyme
- 1 tsp sage
- 2 tsp pink curing salts
- hog casings
Wood Chips
- pecan wood
Instructions
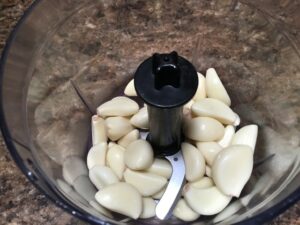
- Place the garlic cloves in a food processor.
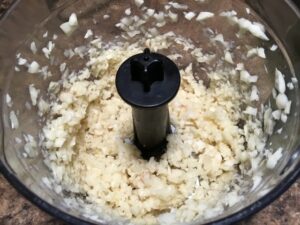
- Process until chopped.
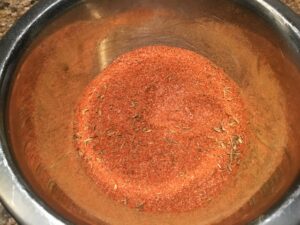
- Mix together all of the seasonings.
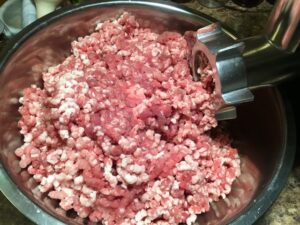
- Grind the pork on a medium grind plate, one time through.
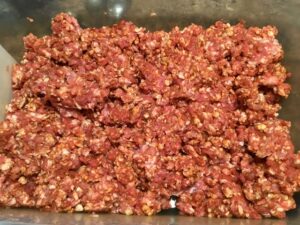
- Thoroughly mix the spices and garlic into the pork.
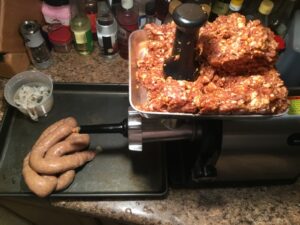
- Stuff the sausage into the casings.
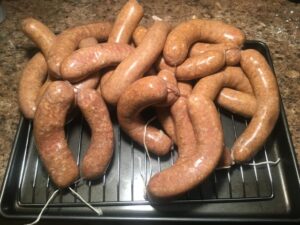
- Twist into 6” links. Let cure overnight in the refrigerator.
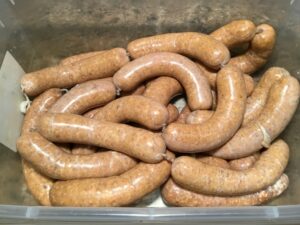
- Cut every 4th link apart from each other. Tie in between the middle of the 4 links with twine to the grate of your smoker so they can hang.
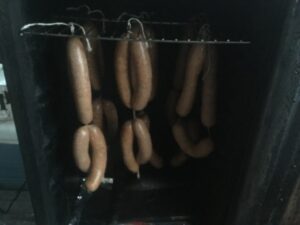
- Place the grate on the very top rack of your smoker so the sausages can hang. Turn the temp to 130 degrees. Allow the sausages to dry out for an hour with out adding any wood chips.
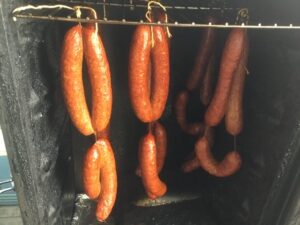
- Turn the temp to 250 degrees and add your wood chips. Allow the chips to ignite. Turn your smoker down to 150 degrees. Smoke for 6 hours, changing out the wood chips every 2 hours. After 6 hours, turn up the smoker temp to 180 degrees and smoke for 1 more hour.
Garlic Scape and Pork Stir Fry
Garlic Scape and Pork Stir Fry
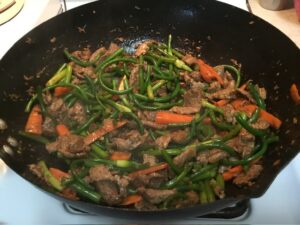
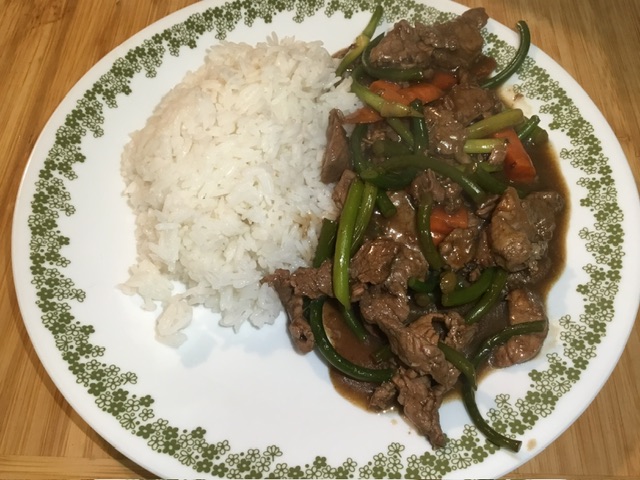
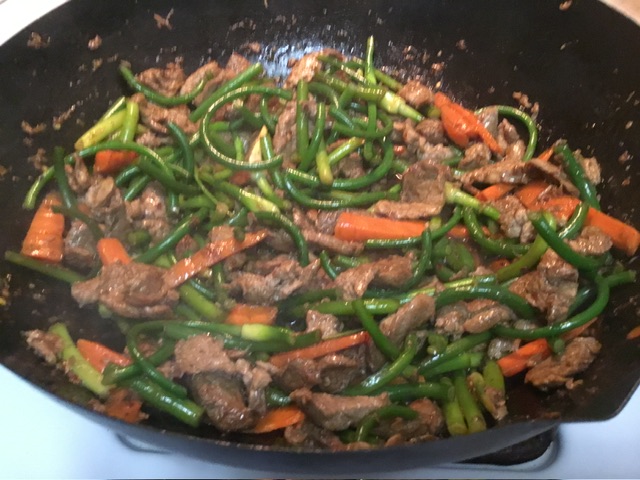
Garlic scapes are really popular in Chinese stir fries. Scapes are the stems and flower buds of garlic bulbs; being a great substitute for garlic, leeks, green onions, and Chinese chives. This stir fry utilizes garlic scapes with marinated pork, cooking in only 5 minutes.
Ingredients
Pork and Marinade
- 1 lb boneless pork shoulder cut into small strips
- 2 tsp cornstarch
- 1 tbsp water
- 2 tsp shaoxing cooking wine
- 2 tbsp oyster sauce
- 1 tsp vegetable oil
Stir Fry
- 3 tbsp vegetable oil divided
- 2 tsp ginger grated
- 1 large carrot sliced
- 1 lb garlic scapes trimmed; cut into 2” pieces
- 1 tbsp shaoxing cooking wine
- 2/3 cup chicken stock
- 1/4 tsp ground white pepper
- 1/2 tsp sugar
- 1 tsp sesame oil
- 1 tbsp light soy sauce
- 1 tbsp cornstarch mixed with 2 tbsp water
Instructions
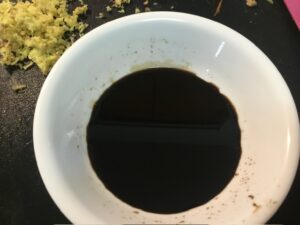
- Mix together the pork and marinade in. Marinate for 20 minutes.
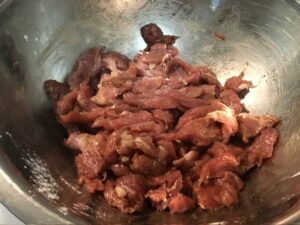
- Remove the pork from the marinade and save the juices.
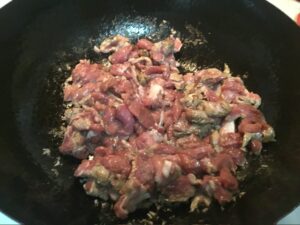
- Heat up 1 1/2 tbsp of vegetable oil in a wok over medium high heat. Sauté the pork for 1 minute on each side. Remove from the wok.
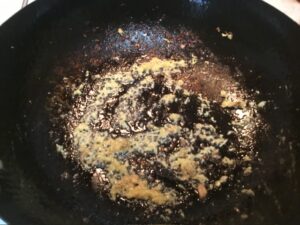
- Add in the rest of the vegetable oil. Stir in the ginger and cook for 30 seconds.
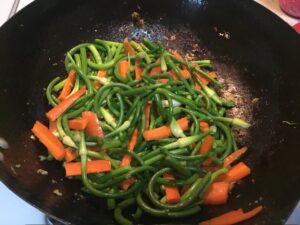
- Add in the carrots and scapes. Cook for 1 minute. Add the cooking wine and cook for another 30 seconds.
- Pour in the chicken stock. Cook for 30 seconds covered. Add the pork and its Cook for juices back in; along with the white pepper, sugar, sesame oil, and soy sauce uncovered. Cook for 30 seconds.
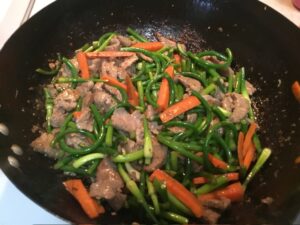
- Stir in the cornstarch slurry and cook for 15 seconds. Remove from the heat.