Recent Posts
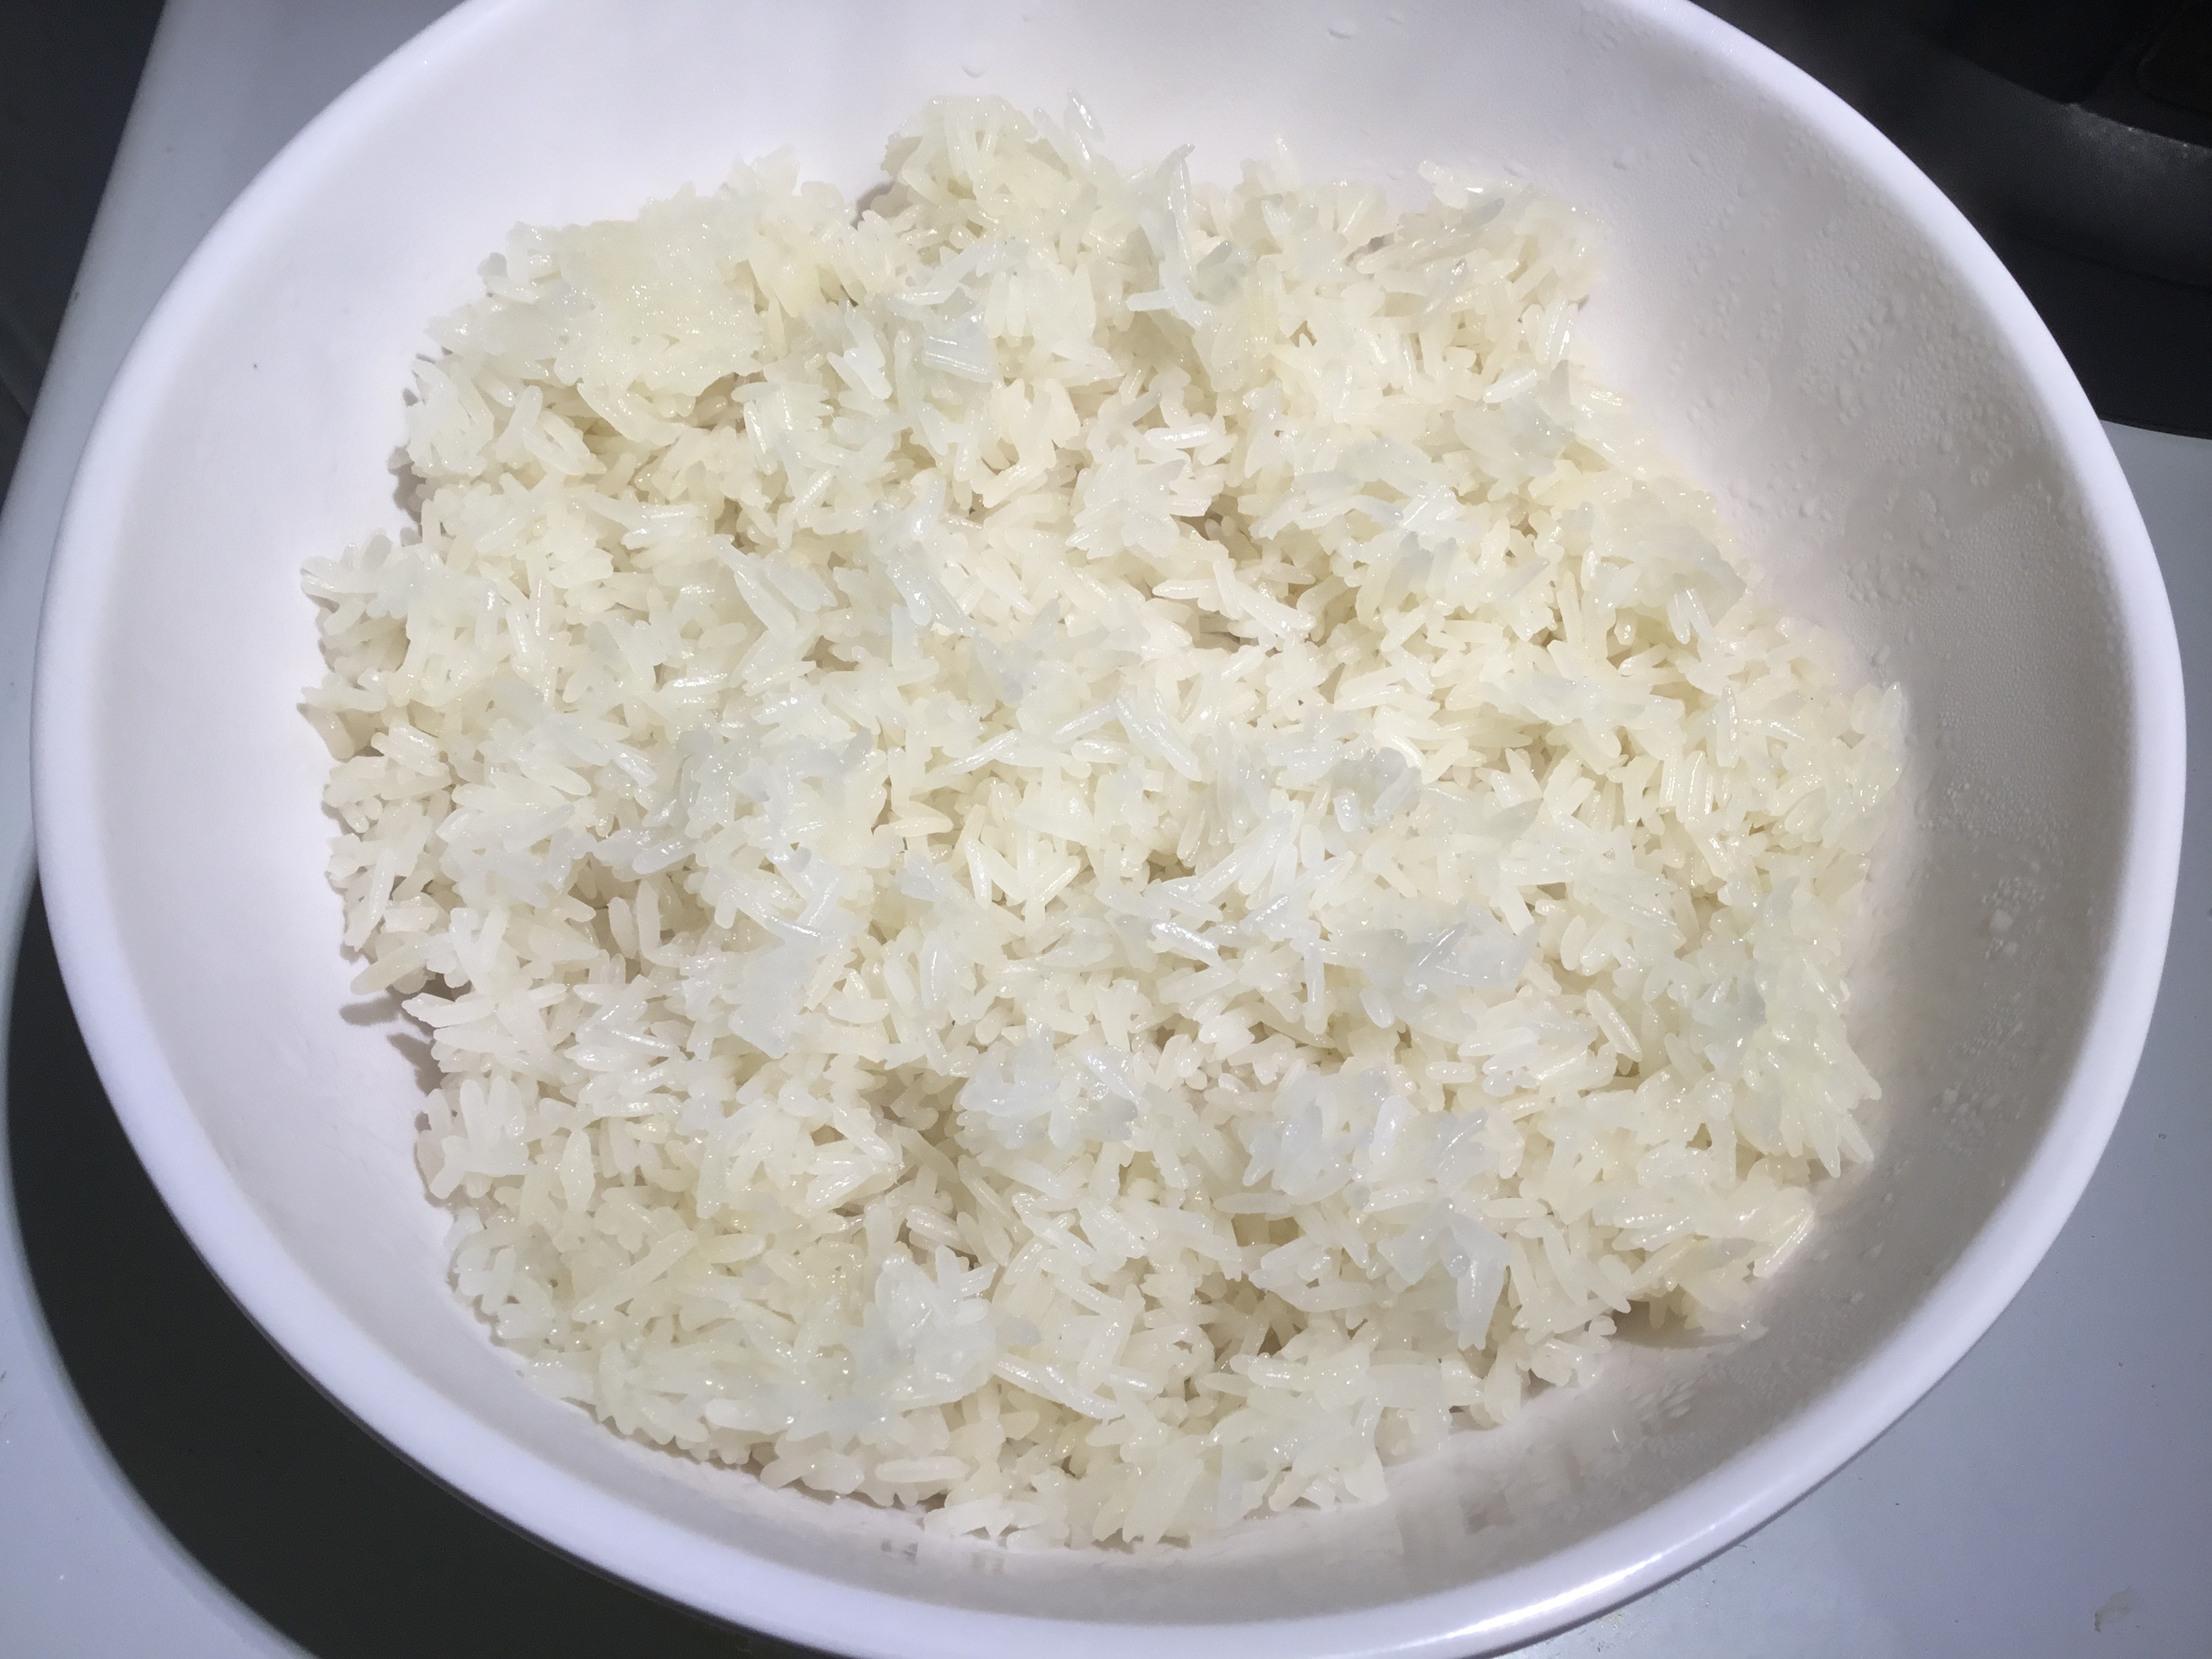
Sticky Rice
Sticky Rice
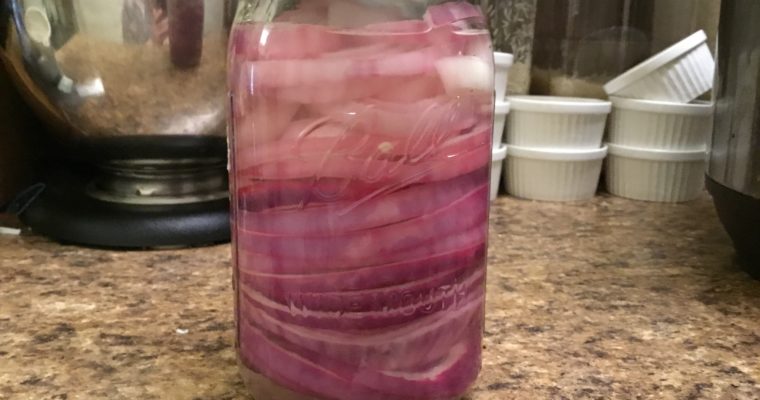
I love sticky rice. It is so unbelievably easy to make. Sticky rice, also known as glutinous rice, has to be steamed. It can not be boiled or you will get mush. You can prepare it in an electric rice steamer, but the best way is to steam it in a traditional Thai rice steamer bamboo basket. The basket gives the rice a particular flavor that you won’t get from an electric rice steamer. To make the sticky rice, wash and rinse the rice 3 times. Then soak in cold water for at least 4 hours. Overnight is even better. Fill your sticky rice steamer with 2 inches of water. Making sure that the steamer basket isn’t touching the water. Bring to a boil. I like to line the basket with cheese cloth to make clean up a little easier, but this step isn’t necessary. Add the rice. Fold the cheese cloth over the rice. Cover the basket with a lid. Steam for 20 minutes. Uncover and pull the rice from the sides to the center, kinda giving the rice a flip. Cover again and steam for another 10 minutes. Then it’s ready to serve.So now the truth about sticky rice. While you eat it at the Thai restaurants in America with red and green curries and you make it at home with your curry; sticky rice is not actually eaten with these curries in Thailand. Why? Sticky rice is grown in Northern and Northeastern Thailand where these curries aren’t part of the culture. Green and red curry are from Central and Southern Thailand, where they eat the curry with regular steamed rice. They still eat sticky rice in these regions, just not as a main staple and usually as a sweet dessert. So what foods do you eat sticky rice with? All Northern Thai cuisine, papaya salad, meat salads such as laab, grilled meats, and many sweetened desserts.What foods do you not eat sticky rice with: stir fried dishes, most coconut milk based Thai curries, soups like tom yum.How is sticky rice eaten? Because of how sticky it is, the rice is usually rolled into little balls and dipped into whatever sauce of whatever you’re eating. The only downside to eating sticky rice is that it is double the calories of regular rice. Oh well.With all of this being said, eat sticky rice with whatever you damn well please! I still eat curries with sticky rice and don’t plan to stop any time soon. While I like to try and cook everything as traditional as possible, sometimes I say fuck it and do what tastes good to me.
Ingredients
- 3 cups Thai glutenous rice
Instructions
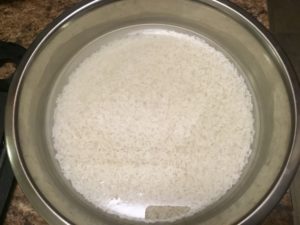
- Rinse the sticky rice in cold water 3 times. Soak the sticky rice in water for at least 4 hours. Overnight is even better.
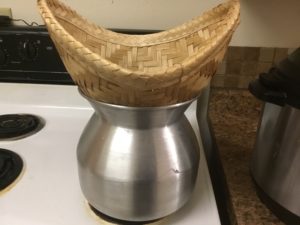
- This is a traditional Thai sticky rice steamer. Fill the bottom with 2 inches of water and bring to a boil. You can use any type of rice steamer, but the the flavor will be different not steaming it in a bamboo basket.
- I like to have a layer of cheese cloth in the basket. This allows for easy cleanup.

- Add the sticky rice to the steamer.
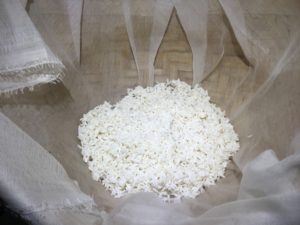
- Fold the cheese cloth over the rice and cover with a lid over the basket. Steam for 20 minutes.
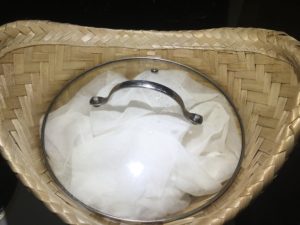
- At the 20 minute mark take off the lid. With a fork, fold the rice in from the sides to the middle. I kind of flip the rice to ensure even cooking. Fold the cheese cloth back over the rice and cover with the lid. Steam for another 10 minutes.
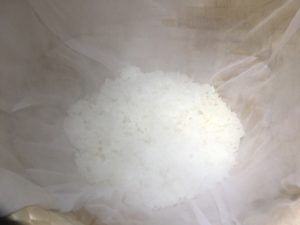
- Turn off the heat. Take off the lid. Open the cheese cloth. Put the serving bowl over the rice. Give it a flip. It’s sticky time.
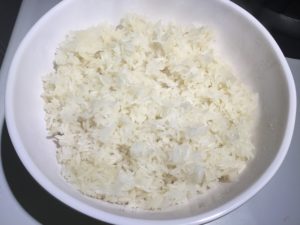
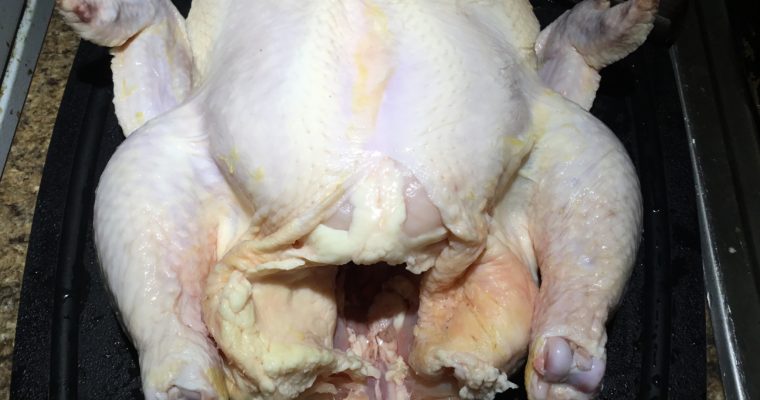
How To Cut Up A Whole Chicken
The most common question I was asked in my 14 years as a butcher was “How do you cut up a whole chicken?”. It became very shocking to me how many people had zero clue, especially in this day and age where everyone lives on …
Creamy Pork Lengua
Creamy Pork Lengua
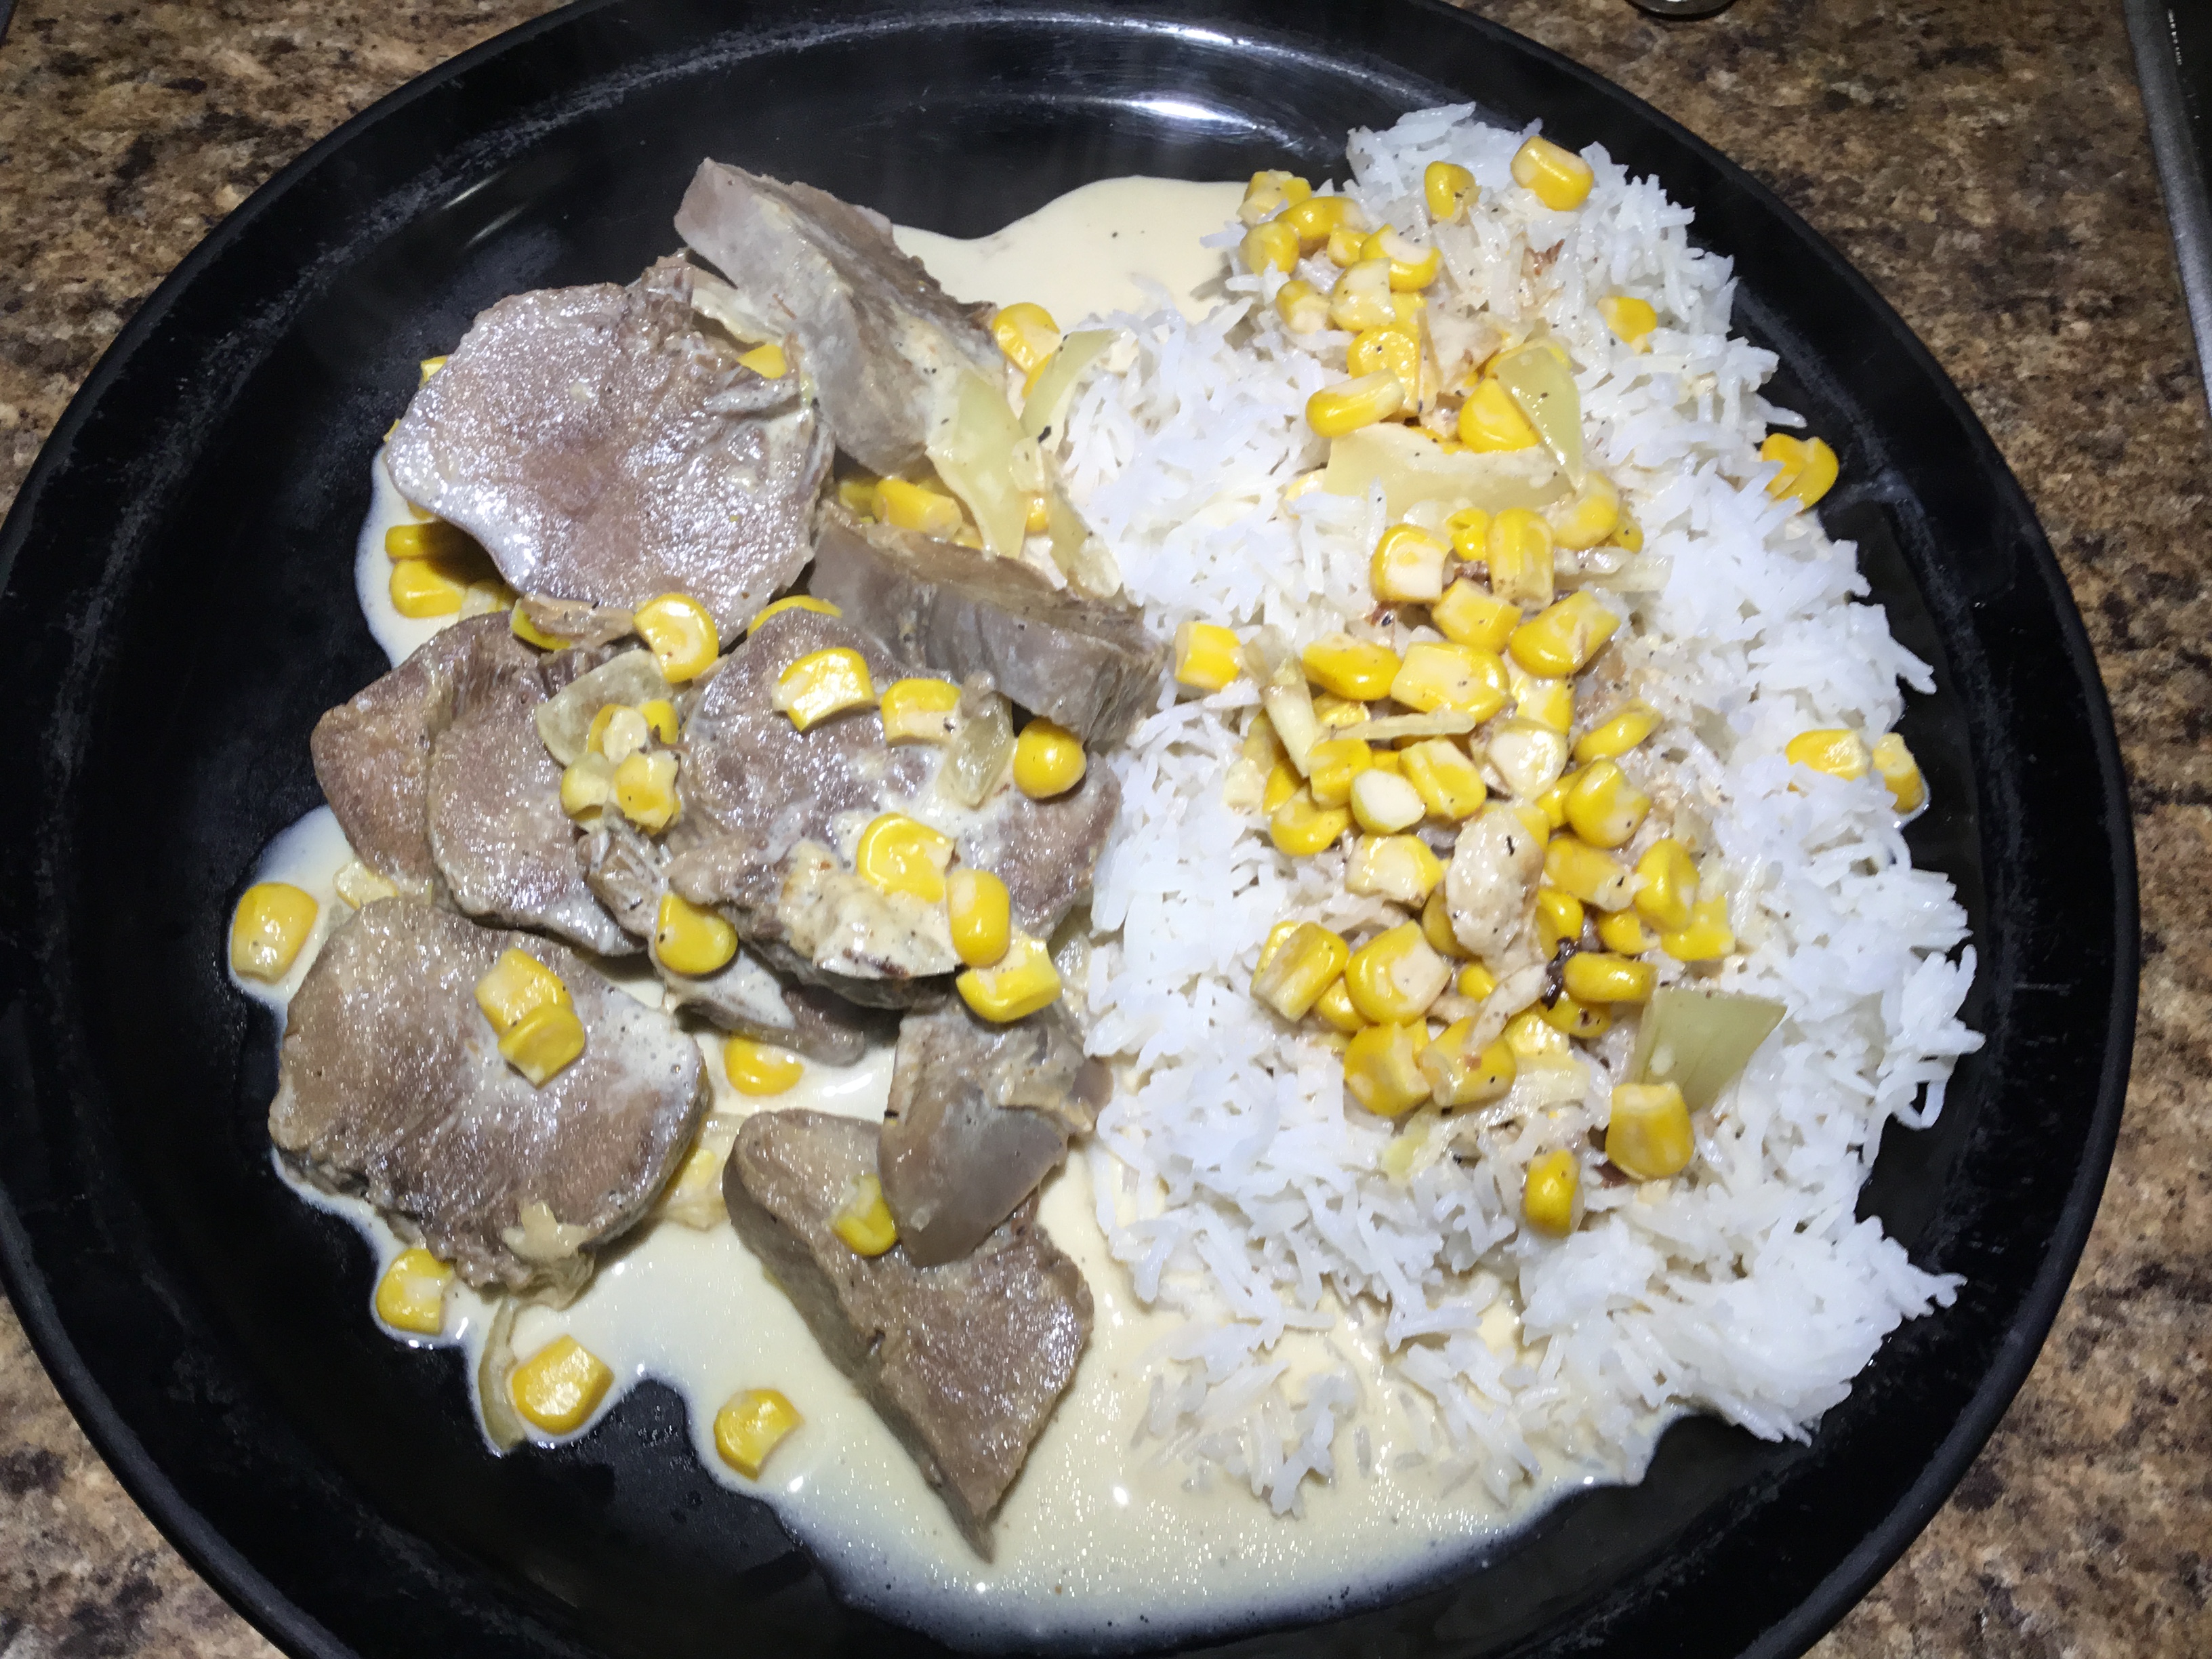
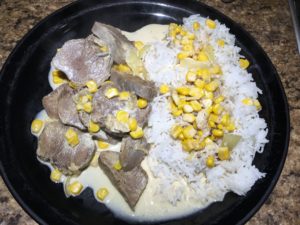
This is a great Filipino recipe that is considered a delicacy and is served on special occasions. This dish is typically made with either pork or beef tongue. When using pork tongue, Filipinos will use a can of corn in this. If using beef tongue, the corn is substituted with mushrooms. So either way, it will be similar to adding tongue to cream of corn or cream of mushroom soup. Sounds like a win-win to meThe pork tongue is prepared in my Instant Pot. If using beef tongue, pressure cook for an hour. If you don’t have a pressure cooker, you can boil the tongues on the stove top for 2 hours. Once the tongue s finished cooking, let rest until the tongue is completely cooled off. This will make peeling off the skin and slicing a lot easier.Serve this creamy lengua over steamed rice or mashed potatoes.
Servings: 4
Ingredients
- 3 pork tongues
- 2 cups chicken stock
- 1 tsp black peppercorns
- 3 tbsp butter
- 4 garlic cloves minced
- 1 medium onion chopped
- 1 tbsp soy sauce
- 1 can evaporated milk
- 1 cup tongue broth
- 1 can corn drained
- 1/2 cup heavy cream
- salt and pepper to taste
Instructions
- In your Instant Pot, add the pork tongues, chicken stock, and peppercorns. Cook for 40 minutes on high. If you don’t have a pressure cooker, the tongues can be boiled on the stove top for about 2 hours.
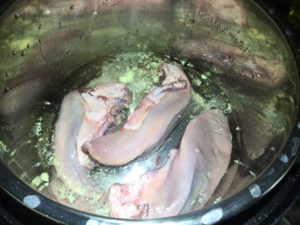
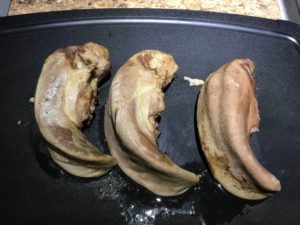
- Once done, let the tongues rest until they are completely cooled off. Peel the skin from the outside of the tongue. Slice into 1/4″ thick pieces. Save 1 cup of the tongue broth.
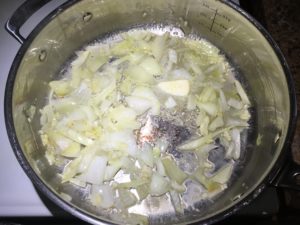
- In a large sauté pan, melt the butter over medium high heat. Add in the onions and garlic. Cook for 3-4 minutes.
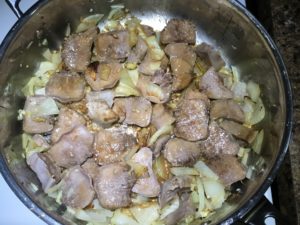
- Add in the tongue slices and soy sauce. Cook for 2 minutes a side.
- Stir in the corn. Cook for another 2 minutes.

- Add in the evaporated milk and tongue broth. Season with salt and pepper. Simmer for 7 mutes, or until the milk thickens.
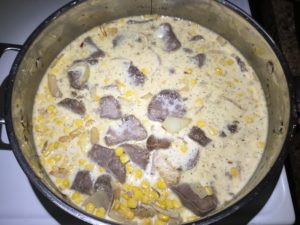
- Stir in the heavy cream. Simmer for another 5 minutes.
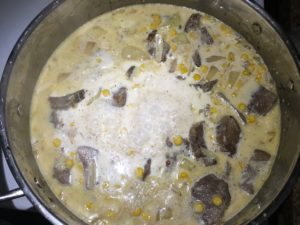
- Serve over steamed rice.

Puerto Rican Chicken in Green Sauce
Puerto Rican Chicken in Green Sauce
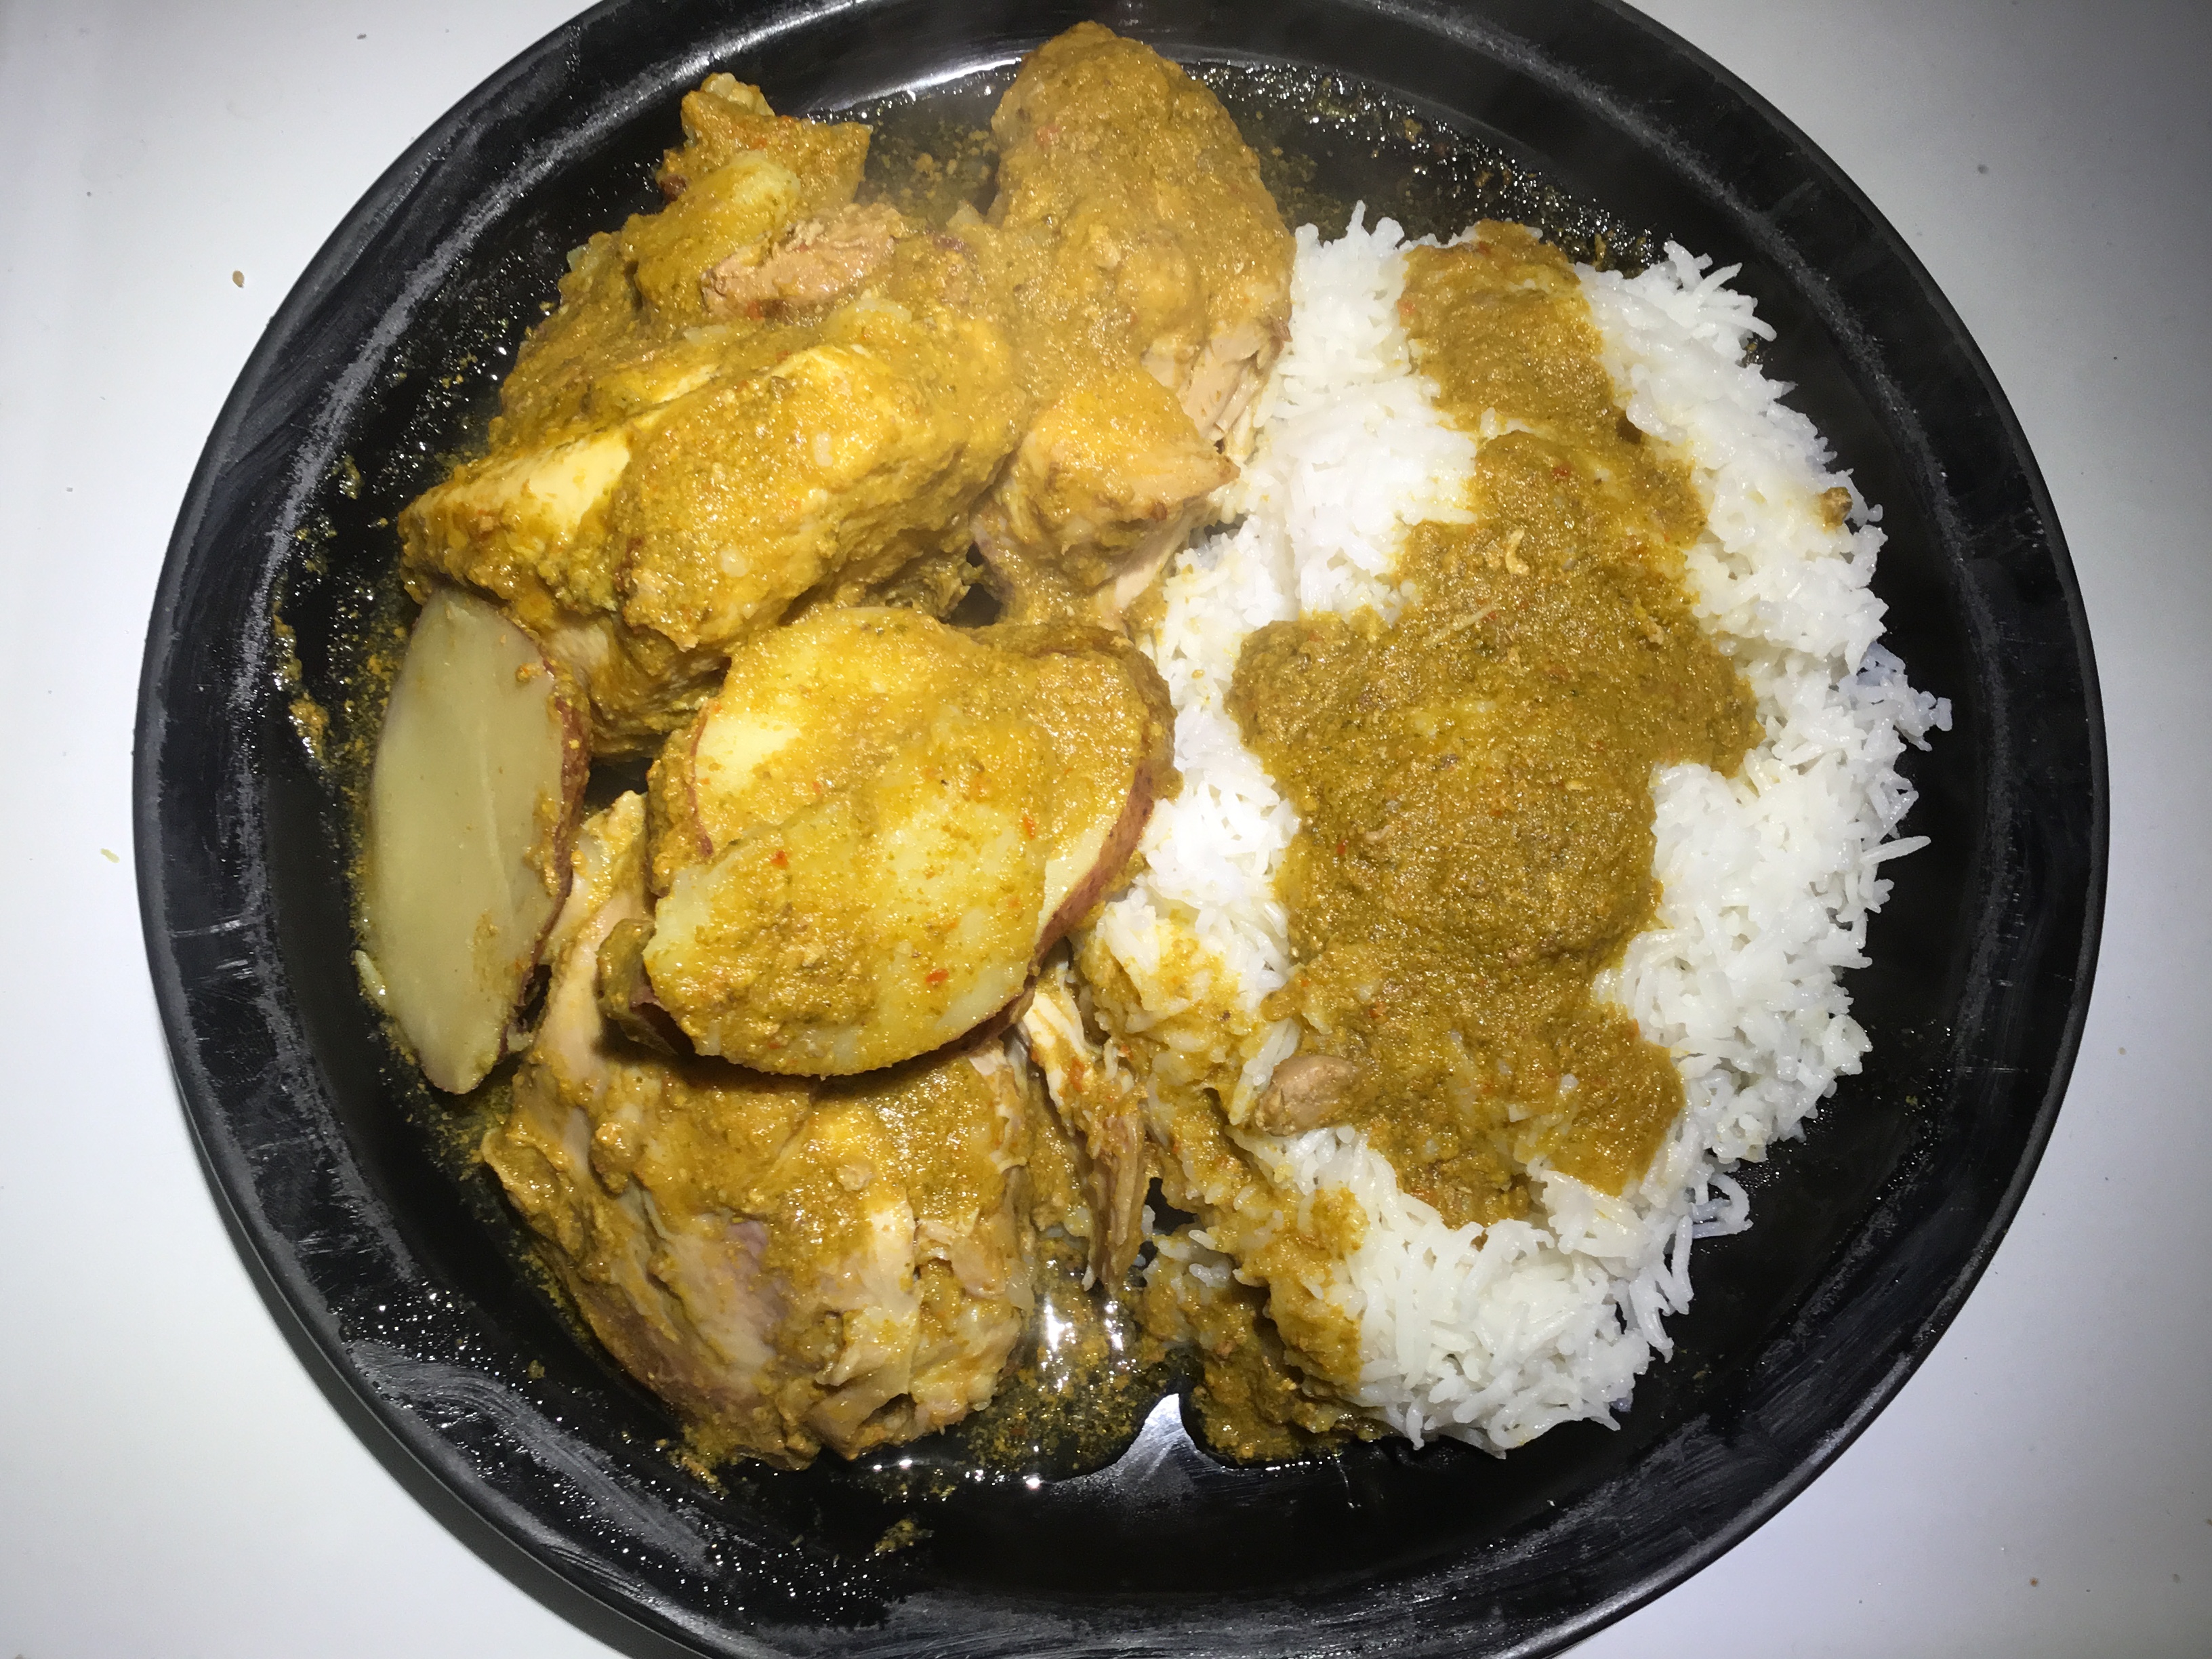
This is another great Puerto Rican chicken dish that is a one pot meal. This green sauce is filled with nothing but aromatics. The jalapeños add some heat, but definitely not overpowering. If you’d like this dish to be a little spicier, add another jalapeño or use Serrano peppers.Typically, I’m not a fan of removing the skin from chicken. I like it on. But for this dish, it is very necessary to remove the skin. This is a fairly healthy dish. Having the skin on will add a lot of extra fat to the green sauce, which we don’t want. If you don’t want to use a whole chicken, you can use just chicken thighs. Substitute 8 thighs for the whole chicken.
Servings: 4
Ingredients
The Chicken
- 1 whole cut up chicken skinned
- 2 medium potatoes sliced 1/4″ thick
- 1 tsp cumin
- salt and pepper to taste
- 2 cups chicken stock
Green Sauce
- 3 cups cilantro
- 1 cup parsley
- 1 head of garlic peeled
- 2 large jalapeños
- 1 medium onion
- 1 red bell pepper
- 1 green bell pepper
- 1/4 cup cooking wine
- 3 tbsp olive oil
Instructions
Green Sauce
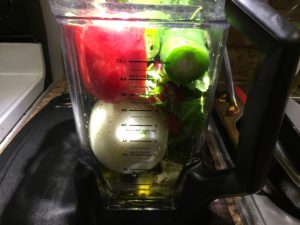
- In a blender or food processor, add onion, bell peppers, jalapeños, garlic, cilantro, parsley, cooking wine, and olive oil.
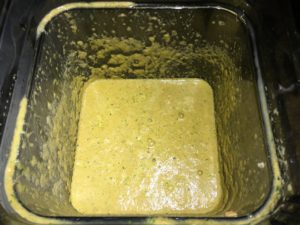
- Puree until smooth.
The Chicken
- Cut up a whole chicken into 8 pieces. Skin the birdie.
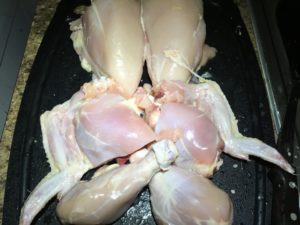
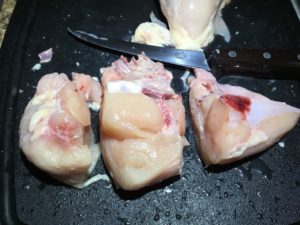
- The breasts on this chicken were GGG cup. Cut them into 3 equally sized pieces.
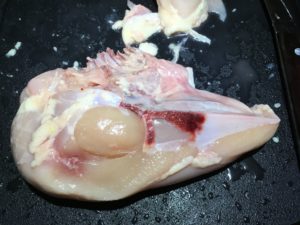
- They should be around the same size as the thighs.
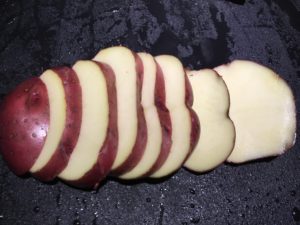
- Wash your potatoes. Slice a 1/4″ piece out of the bottom of the potato. This will make cutting he potato into 1/4″ thick pieces easier having a flat surface.
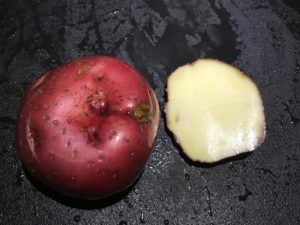
- See.
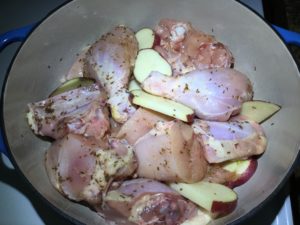
- Add the chicken and potatoes to a large dutch oven or baking dish. Season with cumin, salt, and pepper.
- Pour the green sauce and chicken stock over the chicken and potatoes.Put the dutch oven into a 300 degree preheated oven for 3 hours.
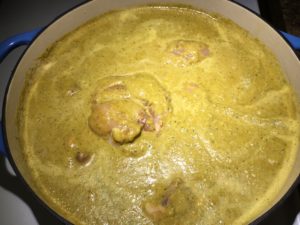
- Give the chicken a stir once an hour. When the chicken is done, the sauce will be a lot thicker. Add salt to taste.
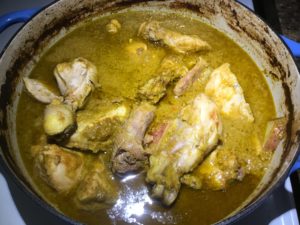
- Serve with steamed rice.