Recent Posts
Tangerine Bubble Tea
Tangerine Bubble Tea
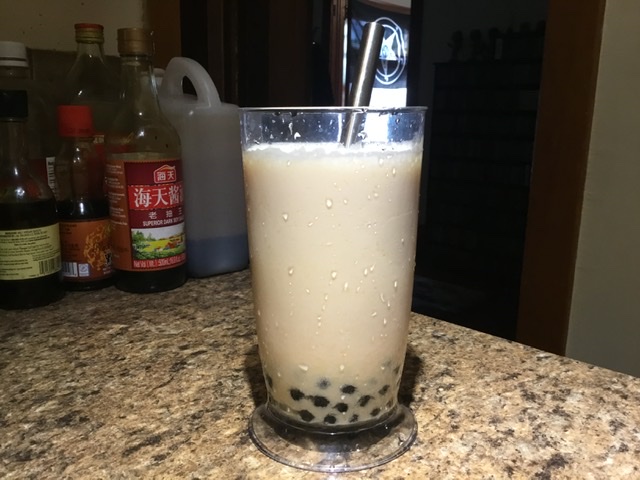
I remember the first time I had a bubble tea. I was in Denver on vacation to partake in legal marijuana and had a cocktail of products. As I was off into space, I stumbled into a hole in the wall ramen restaurant down the street from my favorite dispensary, Euphlora. I had a bowl of tonkatsu ramen. It was good. I decided to try a bubble tea for the first time, and grabbed one for the walk back to my hotel. So let me be very clear: I had absolutely no clue what a bubble tea was. So I was walking down the street and took a sip through a giant straw, and then – sloop. What the hell was that? I took another sip. Sloop. Sloop. This is weird, but I kinda like it. Sloop. Sloop. Sloop. As I marveled at this fruity drink with what I learned were tapioca pearls that are soft, slightly gummy, that are in the bottom of the cup that you suck up through that giant straw and chew, I got lost in the downtown and couldn’t find my hotel. This was before I had a smartphone with google maps. I didn’t even care, honestly. I was stoned, filled with ramen, and sloopin’ my bubble tea down the 16th Street Mall. There are several types of bubble teas: plain ice tea, milk and tea with a sweetener, and fruit and milk blended with crushed ice; all with tapioca pearls floating on the bottom. Making bubble teas at home is extremely easy and costs a fraction of what you pay at a restaurant. You can purchase tapioca pearls at any Asian market. I like to use the instant pearls. They cook in less than 10 minutes. Other pearls can take up to 40 minutes to boil. Cool them in water, then cover in honey. This particular recipe is for the fruit smoothie bubble tea. I used some honey tangerines that I thought would be great. You can really use just about any fruit. Blend your fruit of choice with milk, ice, and honey, then pour in a tall glass with the tapioca pearls on the bottom. You will need to purchase bubble tea straws to suck the pearls through. Sloop.
Servings: 1
Equipment
- blender
- bubble tea straw
Ingredients
- 1/3 cup instant tapioca pearls
- 2 tbsp honey
- 1 cup tangerines; or any other fruit peeled and seeded
- 1 cup whole milk or almond milk
- 1 cup ice
Instructions
- Bring a pot of water to a boil. Add in the tapioca pearls and boil for 3 minutes. Once the pearls float to the top, cover and simmer for 3 minutes.
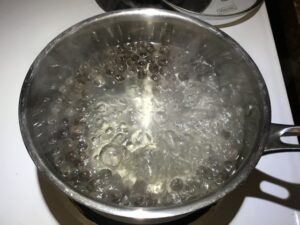
- Turn off the heat. Let sit for 3 more minutes.
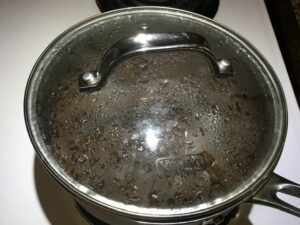
- Cool under cold water.
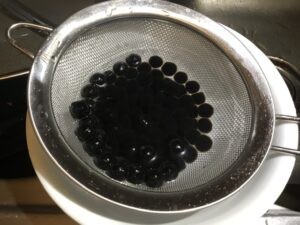
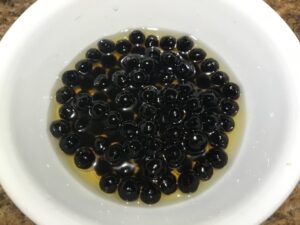
- Place the tapioca pearls in a bowl and cover with 1 tbsp of honey.
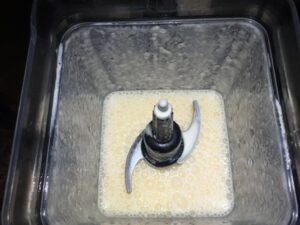
- Place the fruit, milk, ice, and 1 tbsp of honey in a blender.
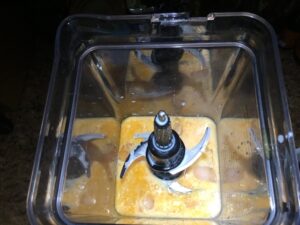
- Blend until smooth.
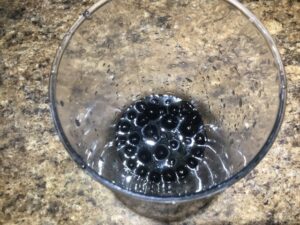
- Place the tapioca pearls in the bottom of a tall glass.
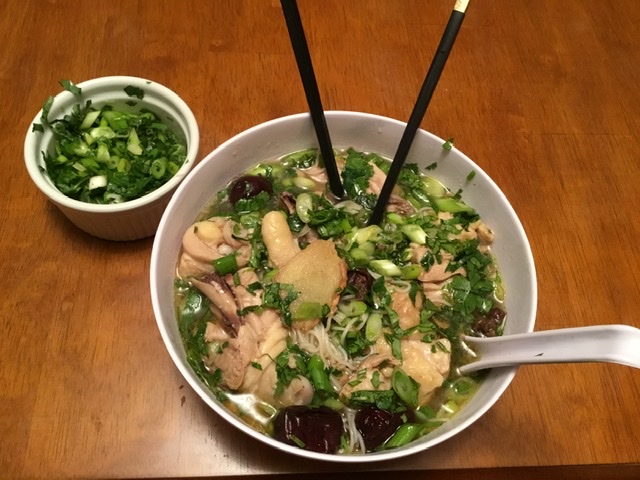
Sesame Wine Chicken Soup
Sesame Wine Chicken Soup
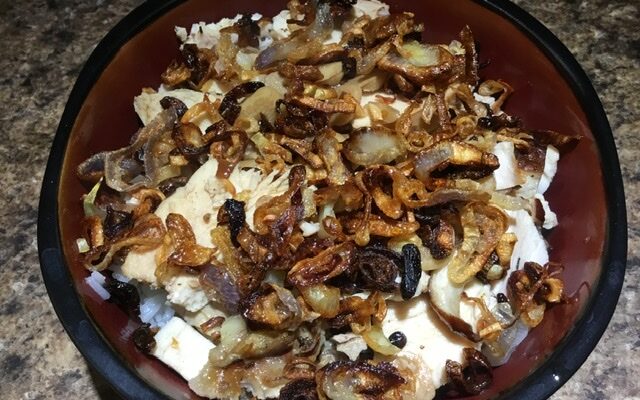
Ma You Ji Tang is a Taiwanese style sesame wine chicken soup. This soup is most appropriate for the cold weather months, as it is great for your immune system. Ginger has anti-inflammatory properties; red dates helping regulate blood pressure, aid in digestion, and are high in vitamin C. Dark meat chicken will work the best for this soup, so I used 2 whole legs; cutting the drumsticks in half and the thighs into 4 pieces. The soup can be served over noodles or rice and is topped with lots of green onions and cilantro.
Servings: 2
Ingredients
- 4 tbsp black sesame oil
- 6 slices ginger
- 2 whole chicken legs drumsticks cut in half; thighs cut into 4
- 2 cups michiu cooking wine or shaoxing cooking wine
- 2 cups chicken stock
- 12 dried red dates
- 1/2 tsp sugar
- salt to taste
- 2 portions somen noodles prepared according to package directions
- 4 green onions chopped
- 1/4 cup cilantro chopped
Instructions
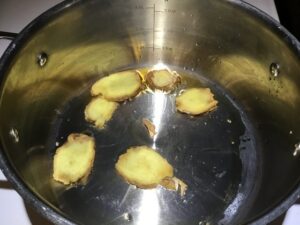
- Heat up 2 tbsp of sesame oil in a pot over medium high heat. Sauté the ginger slices gor 3 minutes. Remove from the pot.
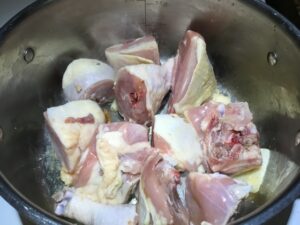
- Add in the chicken. Brown on all sides for 10 minutes in total.
- Pour in the chicken stock and cooking wine. Bring to a boil.
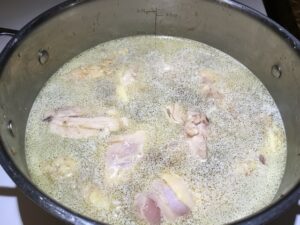
- Add in the dried red dates and the sautéed ginger slices. Cover. Reduce the heat to medium low and simmer for 30 minutes.
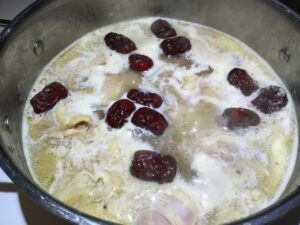
- Stir in the sugar and the last 2 tbsp of sesame oil. Season with salt to taste.
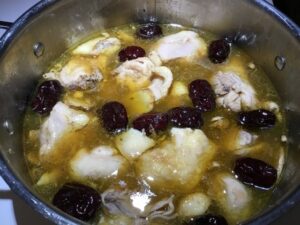
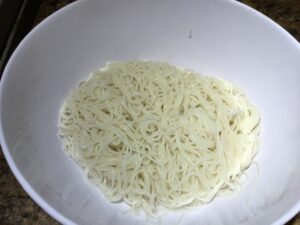
- Place a portion of the somen noodles in a bowl.

Smoked Whole Turkey
Smoked Whole Turkey
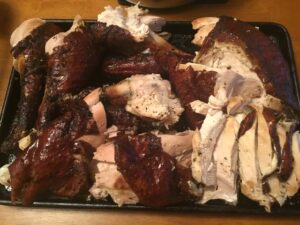
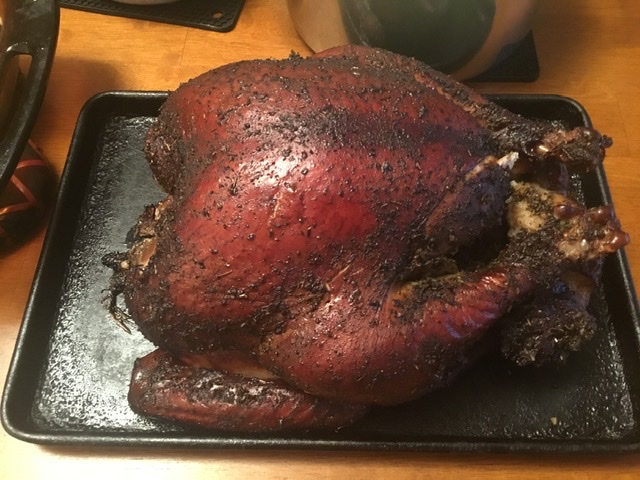
Do you want to make the best turkey you’ve ever eaten and really show off to your guests? Here’s your opportunity. I consider myself an expert in the field of turkey. In my former career in the meat world, I’ve sold 10s of thousands of turkeys and have cooked more than I can count. This is definitely the juiciest and most flavorful turkey I’ve ever cooked and eaten. This is also the very first time I’ve smoked a turkey. So where do I start.When choosing a turkey, you want to make sure you have the right size for your guests. I recommend 2lbs of turkey per person. Why that much? 1. Just under half of the turkeys weight is bones. 2. People tend to eat a little more during the holidays. So a 12lb turkey will serve 6. If you have some leftovers, I consider that a plus.Since we are smoking a turkey, there is really one way to approach the process, and that process is to brine your turkey. Brining will guarantee your turkey to be moist and flavorful. Without brining, your turkey will be dry. No question about it. You will need to brine your turkey in a brining bag for 1 hour per lb. I purchased a 14lb turkey, so it will need 14 hours to brine. Place the turkey in the brining bag breast side down. Pour in the brine, making sure that the turkey is completely submerged. Once the turkey is finished brining, let the turkey rest on a rack in the refrigerator for a day to dry out. This will allow the smoke to stick to the turkey. When ready to smoke, rub the turkey with olive oil and the dry rub. Allow the turkey to rest at room temp for 2 hours. If this step is skipped, your turkey will not cook properly. Typically when roasting a turkey, it will take 12-15 minutes per lb. at 325 degrees. Since smoking will be at a lower temperature, the turkey will take 15-20 minutes per lb. My 14lb turkey took 4 hours to smoke. You will want to take the temperature of the turkey in 2 spots: in the thickest part of the breast and thigh. The final cooking temp of the breast needs to read 165 degrees; 180 degrees in the thigh. Since the breast finishes cooking first, you may need to cover it with foil until the thigh properly temps. I pull the turkey 5 degrees short of the final temp, since it will go up in temp once you pull it from the smoker and let it rest. Let the turkey rest for an hour before carving so the juices redistribute.What I’ve learned when it comes to carving a turkey is that almost nobody knows how to properly do it. My biggest pet peeve is seeing people slice the breast on a whole turkey down the side. WRONG!!! Just stop it. You have now cut the turkey with the grain instead of against and have now forever changed the integrity of the texture of the turkey. Blasphemeat. The first thing you need to do is cut off the drumsticks, wings, and thighs the exact same way you’d cut up a whole chicken. So now you are left with the whole breast. Cut each side of the breast off of the breast bone. Then slice it against the grain. Arrange all of the parts on a platter for serving.Don’t throw away the carcass! There is nothing but flavor within that carcass. Save it for making stock, which I’ll show in a later post. Gobble, gobble, bitches.
Equipment
- brining bag
- Electric Smoker
- Probe Thermometer
Ingredients
- 1 whole turkey 12-18lbs
Brine
- 2 gallons water
- 2 cups sea salt
- 2 cups sugar
- 1 large onion diced
- 1 head garlic peeled
- 1 tbsp black peppercorns
- 1 tbsp white peppercorns
- 2 tbsp thyme
- 2 tbsp sage
- 2 tbsp rosemary
- 4 bay leaves
Dry Rub
- 1/4 cup olive oil
- 3 tbsp smoked paprika
- 3 tbsp pink peppercorns ground
- 3 tbsp garlic powder
- 3 tbsp onion powder
- 2 tbsp ground sage
- 2 tbsp oregano
Wood Chips
- 1/2 pecan wood
- 1/2 hickory wood
Instructions
Brining the Turkey
- Mix together the dry ingredients.
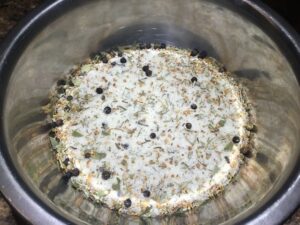
- In a large stock pot, dissolve the brining ingredients in 1 quart of water over high heat.
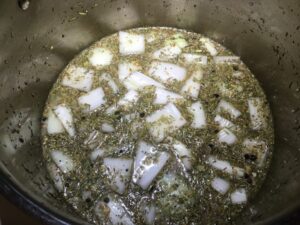
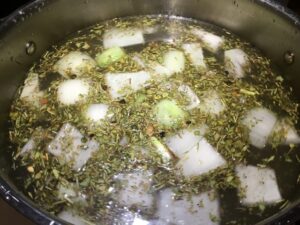
- Turn off the heat. Pour in 3 quarts of cold water.
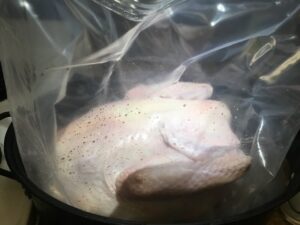
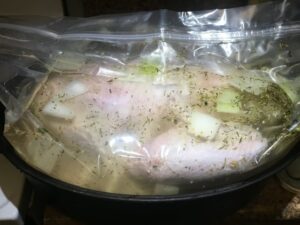
- Place the turkey in a brining bag breast side down.
- Pour the brine over the turkey.
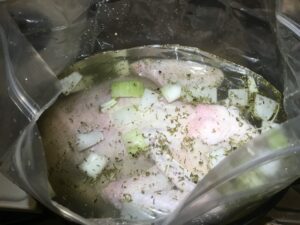
- Pour another gallon of cold water into the brining bag, making sure that the turkey is completely submerged. Seal the bag and let the turkey brine in the refrigerator for 1 hour per lb.
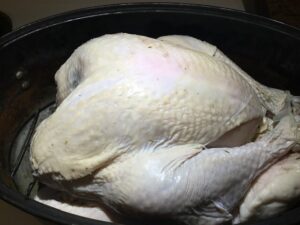
- When the turkey is finished brining, place the turkey on a rack and allow to dry out in the refrigerator for a day.
Smoking the Turkey
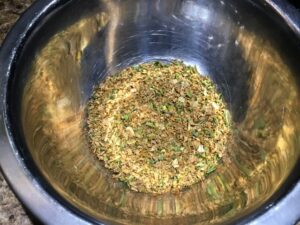
- Mix together all of the dry rub ingredients.
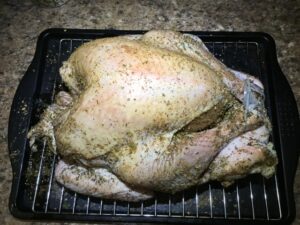
- Rub the turkey with the olive oil. Then rub the turkey with the dry rub. Let the turkey rest at room temp for 2 hours.
- Preheat your smoker at 250 degrees. Place the turkey in the smoker.
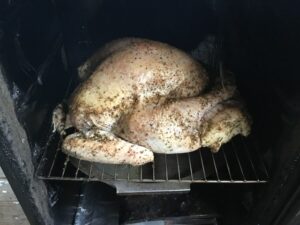
- Smoke the turkey for 15-20 minutes per lb. Using a probe thermometer, take the temp of the turkey in the thickest part of the breast and the thigh. The breast should read 165 degrees and the thigh 180 degrees. If the breast is at temp but the thighs aren’t, cover the breast with foil and continue to smoke until the thighs reach that temp.
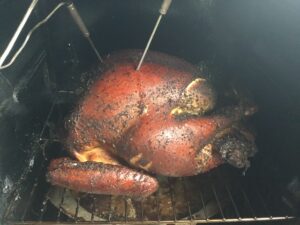
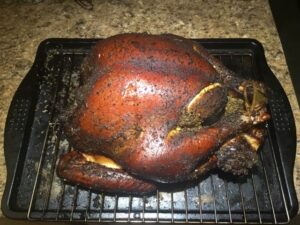
- Pull the turkey out of the smoker. Place in a large roasting pan. Cover. Let the turkey rest for an hour before carving.
Carving the Turkey
- Cut the wings, drumsticks, and thighs off the carcass; just like how you’d cut a whole chicken. Cut each side of breast off the breast bone.
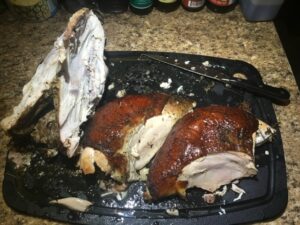
- Arrange the parts on a platter for serving.