Recent Posts
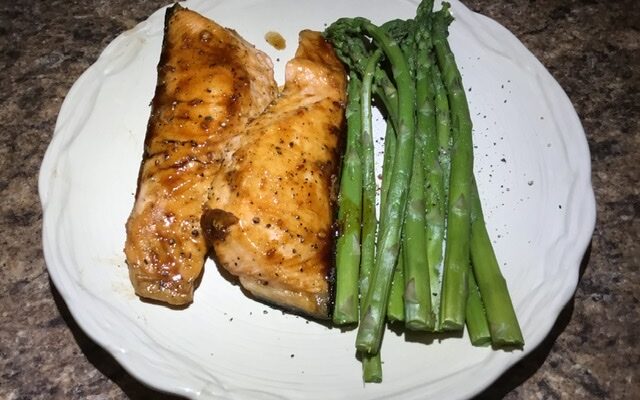
Teriyaki Salmon Onigirazu

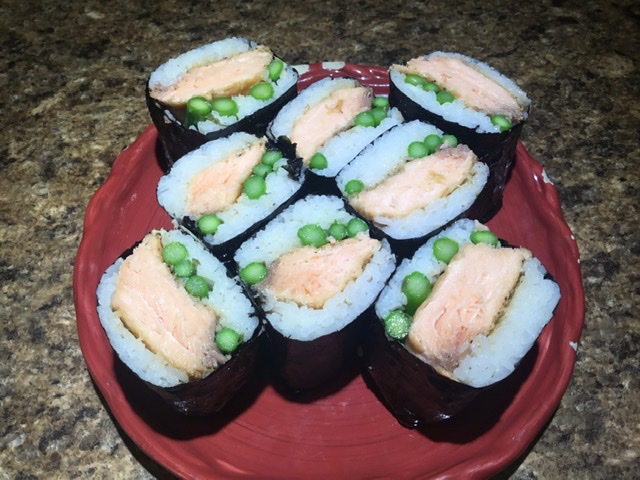
Teriyaki Salmon Onigirazu
Onigirazu are like small sushi sandwiches. The rice is pressed tight in a musubi or onigirazu press. This layer is like the bread of a sandwich. Then they can be filled with a variety of fillings: tonkatsu, bulgogi, ham egg and cheese…The list goes on. Then another layer of rice is pressed over the top of the filling. It is all wrapped in a sheet of nori. This particular recipe uses leftover teriyaki salmon and steamed asparagus.
Servings: 4
Equipment
- musubi press
Ingredients
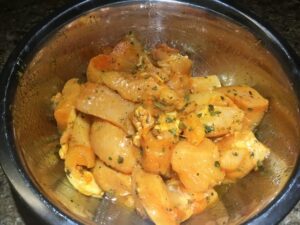
- 4 teriyaki salmon fillets
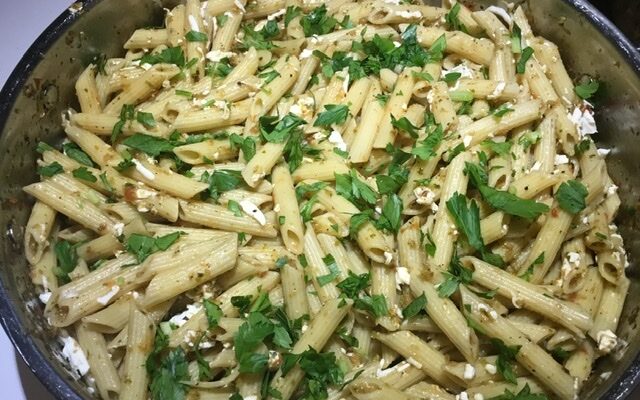
- 12 asparagus spears cut in half and steamed
- 1 1/2 cups sushi or jasmine rice steamed
- 4 nori sheets
Instructions
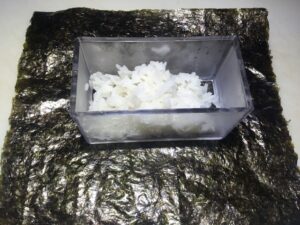
- Place the musubi press in the center of a sheet of nori.
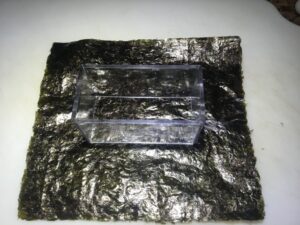
- Place 2-3 tbsp of the cooked rice in the press. Press it down.
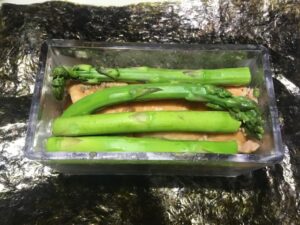
- Put a skinned piece of the teriyaki salmon on the rice.

- Put 4-6 half pieces on top of the salmon.
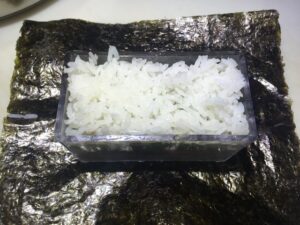
- Put 2-3 more tbsp of the rice on top of the asparagus. Press it tightly.
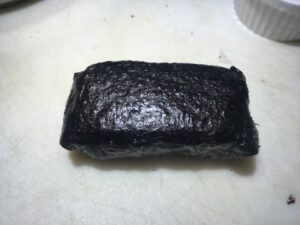
- Wrap up the onigirazu. Seal the edges with a little warm water.

Teriyaki Salmon
When you go to an American grocery store, you will see countless varieties of pretty horrible tasting bottled teriyaki sauces on the shelves. Honestly, because of this, teriyaki has always been a huge turnoff for me. They all have too much salt and extra ingredients that you don’t need. Puke. In a Japanese grocery store, you won’t find any. Why? Because every household in Japan makes their own. The best part is, real Japanese teriyaki only has 4 ingredients: mirin, sake, soy sauce, and sugar. It’s simple with a proper balance of sweet and salty.Japanese-style teriyaki Salmon is so much more complex than putting a sauce on salmon. The Japanese fillet their salmon at a 30 degree angle 1/2”-1” thick with the skin on instead of cutting a straight on 90 degrees portion out of the fillet. Cutting the salmon this way will do several things. It gives the salmon a wider spread of the flesh, allowing it to absorb the teriyaki. That also means that the fillets won’t require marination. Since the fillets are thinner, the salmon fillets will cook a lot faster and more evenly. It is highly important to leave the skin on the salmon while cooking. I feel that I have to repeat this again because of all the recipes I see out there removing the skin before cooking salmon. IT IS HIGHLY IMPORTANT TO LEAVE THE SKIN ON THE SALMON WHILE COOKING. For several reasons…The skin holds the fillets together. If I were to remove the skin before cooking this salmon, you’d have flaked salmon in teriyaki sauce…Between the flesh and the skin is a nice layer of fat where you get your omega 3 fatty acids. You are throwing away essential nutrients by removing the skin…It also keeps your salmon moist…Nobody said you have to eat the skin. LEAVE IT ON! I bet the same people that remove the salmon skin eat boneless skinless chicken breasts with their snotty children, Cooper and Emily.End of angry rant.
Ingredients
- 1 lb salmon fillet head end of fillet
- 1/2 tsp salt
- cracked black pepper
- 3 tbsp flour
- 2 tbsp butter
- 1 tbsp sake or rice wine
Teriyaki Sauce
- 2 tbsp soy sauce
- 1 tbsp mirin
- 1 tbsp sake
- 1 tbsp sugar
Instructions
How to fillet salmon Japanese-style
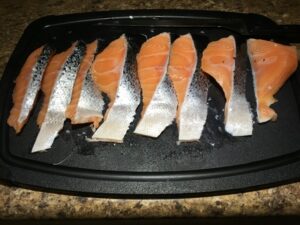
- Instead of straight on cutting smaller portioned fillets out of the whole one, the Japanese will cut the fillets 1” thick at a 30 degree angle.
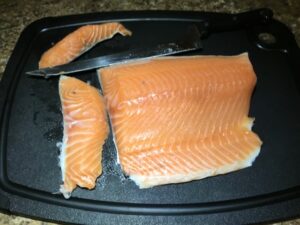
- Thinly cutting the salmon this way gives a wider spread of the flesh, allowing to absorb more of the teriyaki.
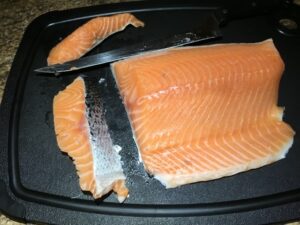
- Cut the entire fillet.
Teriyaki Salmon
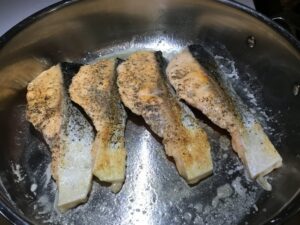
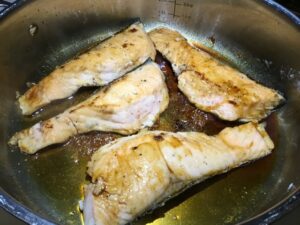
- Season each fillet with salt and pepper. Dust the fillets in flour. Shake off any excess.

- Melt the butter in a sauté pan over medium heat. Add in the salmon fillets skin side down. Sear for 3 minutes.

- Flip over. Add the saki and cover, cooking for another 3 minutes. Remove from the pan.
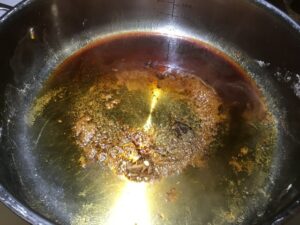
- Mix together all of the teriyaki ingredients.

- Pour in the pan.
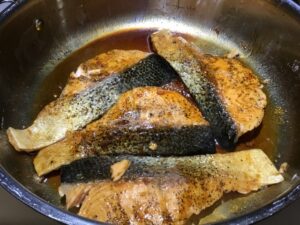
- Once it starts to boil, add the salmon fillets back in.
- Toss and coat each side in the teriyaki sauce.
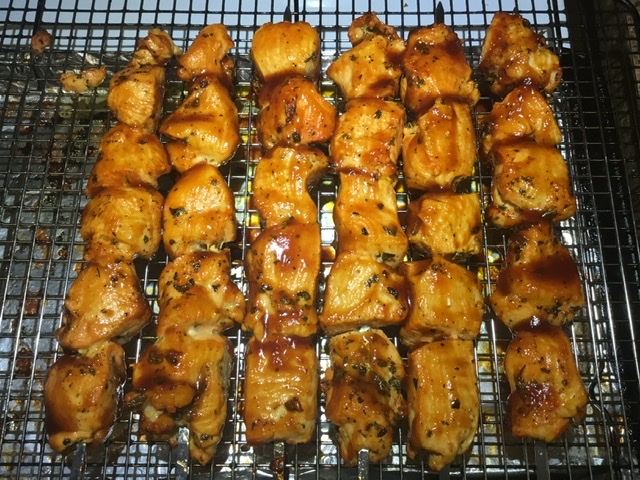
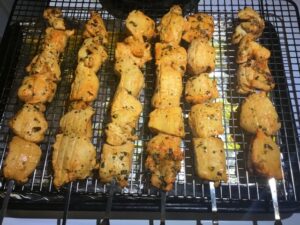
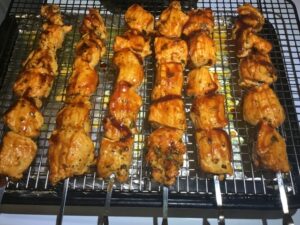
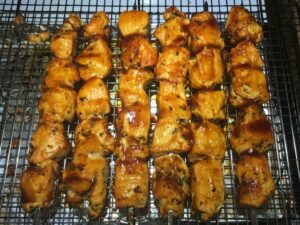
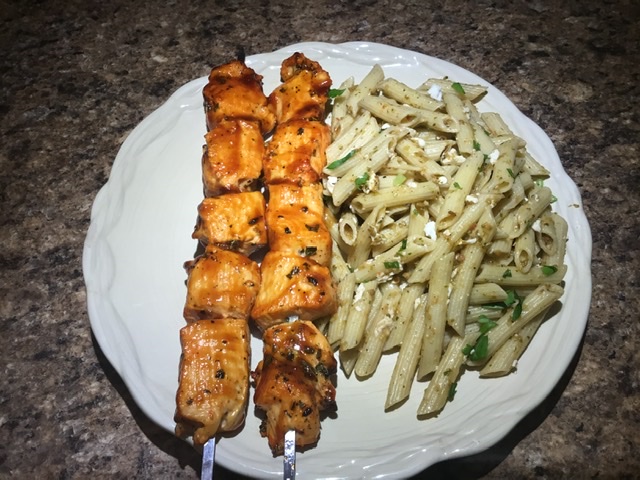
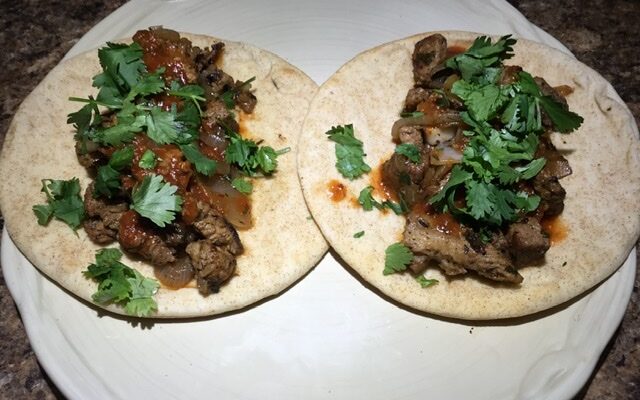
Pinchos de Pollo
Pinchos de Pollo
A few weeks ago I made Pinchos de Cerdo: Puerto Rican pork skewers. This is the same recipe, but with chicken. You can use either breast or thigh. That is your call. The skewers can be grilled or broiled. They will take 3 minutes a side before basting them with bbq sauce, then cooking for another 2 minutes per side.
Servings: 4
Equipment
- metal kabob skewers
Ingredients
- 2 lbs boneless skinless chicken breast or thighs cut into 1 1/2” cubes
- 2 tbsp olive oil
- 1 tbsp vinegar
- 1 packet sazon with achiote
- 1 tsp adobo seasoning
- 1 tbsp oregano
- 1/2 tsp salt
- bbq sauce for basting
Instructions
- Marinate the chicken with all of the ingredients for 8 hours.
- Turn on you oven’s broiler. Skewer up the chicken. Place the skewers on a rack on a baking sheet lined in foil.

- Broil for 3 minutes a side.
- Brush the top side with bbq sauce. Broil for 2 minutes.
- Flip the skewers over. Brush the top side and broil for 2 more minutes.
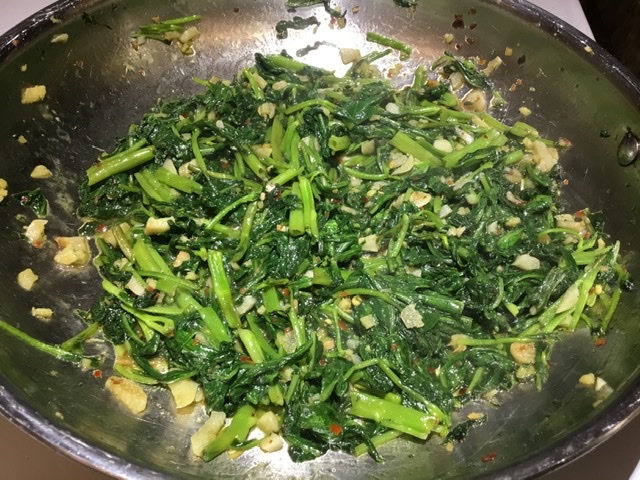
Stir Fried Ong Choy
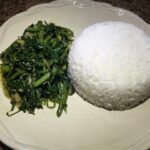
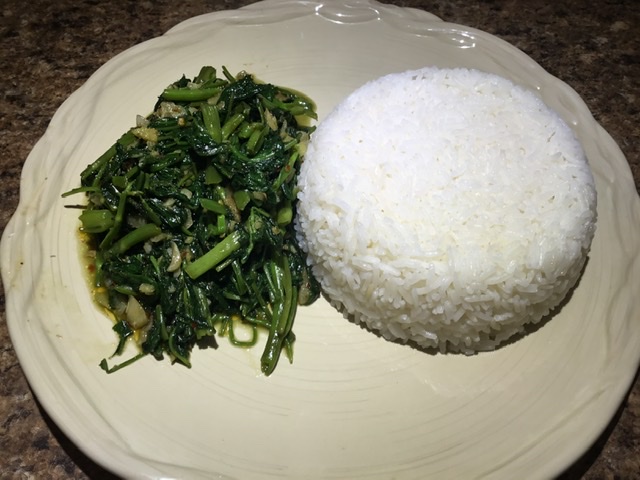
Stir Fried Ong Choy
Ong Choy, or water spinach, is a popular vegetable eaten all over Asia. They have long leaves and hollow stems that give the green a nice crunch. This stir fry is quite simple and can be found on any authentic Chinese or Vietnamese menu. You can purchase ong choy at just about any Asian market for a couple dollars for a huge bunch.
Ingredients
- 2 tbsp vegetable oil
- 5 garlic cloves minced
- 2 tsp ginger minced
- 2 tbsp Sichuan chili oil
- 1 bunch ong choy washed and chopped
- 1/2 tsp salt
- 1/4 tsp sugar
Instructions
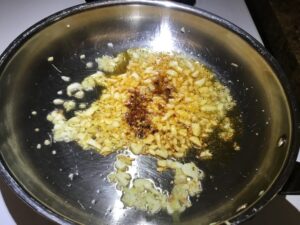
- Heat up cooking oil in a sauté pan over high heat. Sauté the garlic and ginger for 30 seconds.

- Add in the chili oil. Cook for another 30 seconds.
- Add in the ong choy.
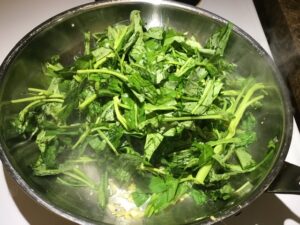
- Stir fry for 4 minutes.
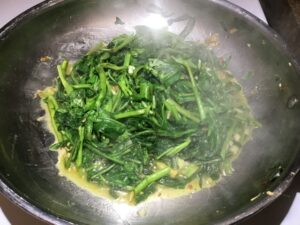
- Season with salt and sugar.

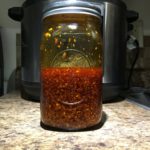
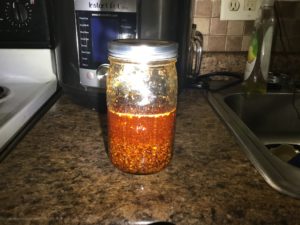
How to make Chili Oil in an Instant Pot
Ever eat at a Chinese restaurant and they have that chili oil at the table? Then you end up putting it on everything because it’s so damn good. Well now it’s time to learn how to make it for a fraction of the price of the store bought brands. Making this couldn’t be easier using the Instant Pot. The most important thing in making this chili oil is to not burn the ingredients. You want to keep the oil between 225 and 250 degrees. The Instant Pot has a custom temperature setting which makes making this street free. You can still make this on a stove top if you don’t have an Instant Pot. Just make sure to use a cane thermometer to make sure the oil doesn’t get too hot. If the ingredients burn, you will have to start over.Most cultures have some sort of chili oil in their cuisine, all made very similarly. This recipe is for a Chinese style chili oil, so I used ingredients in Chinese cooking. If you were to make a chili oil for Italian cuisine, you would you’d Italian crushed chili flakes and maybe some garlic and dried herbs in the oil. So experiment with making different oils. The chili flake is always the main ingredient, followed by aromatics steeping in the oil.
Ingredients
- 2 cups vegetable oil
- 1 large cinnamon stick
- 5 star anise
- 3 tbsp Szechuan peppercorns
- 2 bay leaves
- 1 cup crushed Szechuan chili flakes
Instructions
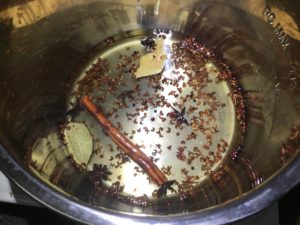
- Set your Instant Pot to the sauté function. Choose custom temp. Set to 230 degrees, Add your oil, cinnamon stick, star anise, peppercorns, and bay leaves to the Instant Pot. Cook for 30 minutes, giving an occasional stir. Let cool for 5 minutes.
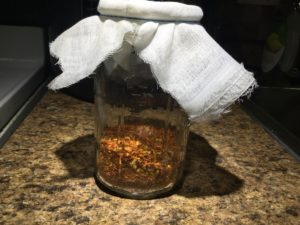
- Put the crushed chili flakes in a mason jar. Take a small piece of cheese cloth and put it over the jar, with a rubber band around it to hold in place.
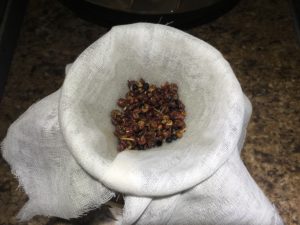
- Take out the cinnamon stick and bay leaves. Pour the oil into the mason jar. The cheese cloth will catch all of the peppercorns and star anise..
- Screw on the cover and let cool to room temp. Refrigerate up to 6 months.