Tag: How to make
Whole Chicken Braised in Coconut Milk

Whole Chicken Braised in Coconut Milk
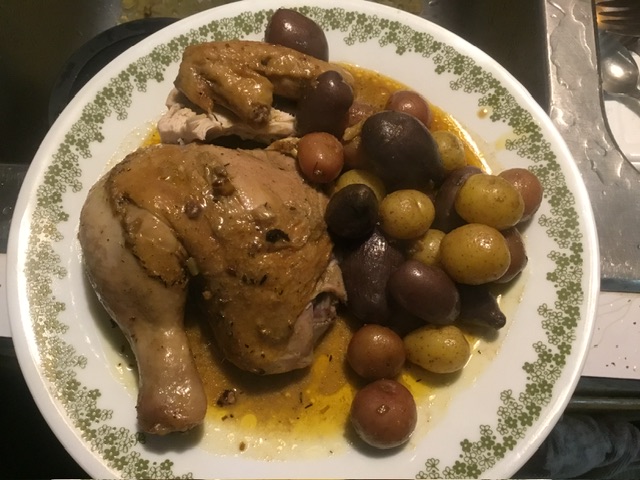
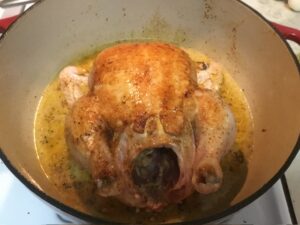
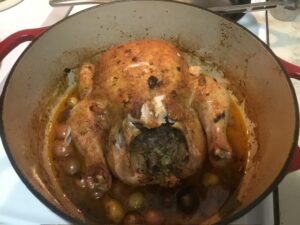
This is one of my favorite ways to cook a whole chicken. The chicken is seasoned with creole seasoning and seared in a dutch oven, then braised in the oven with coconut milk, lemongrass, and garlic; creating a rich gravy. This gravy is so damn good, I’d drink it by the cup full if I could. You can add fingerling potatoes the last 30 minutes of cooking, or spoon the coconut milk gravy over steamed rice.
Equipment
- cast iron Dutch oven
Ingredients
- 4 lb whole chicken
- creole seasoning to taste
- 6 garlic cloves minced
- 1 tsp ginger grated
- 1 tbsp thyme
- 2 stalks lemongrass finely chopped
- 3 tbsp olive oil
- 2 tsp smoked paprika
- 1 tsp curry powder
- 1 tsp cayenne pepper
- 1 medium white onion diced
- 2 cups coconut milk
- 1 cup water
- 1 tsp white pepper
- 2 lbs fingerling potatoes
Instructions
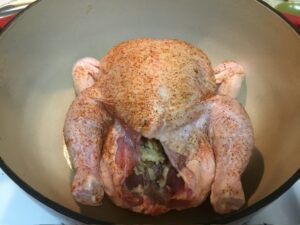
- Season the chicken with the creole seasoning and white pepper. Fill the inner cavity with the half of the garlic, ginger, and 1 stalk of lemongrass. Heat up the vegetable oil in a Dutch oven over medium high heat. Add the chicken to the pot.
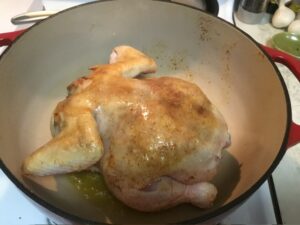
- Brown on both sides for 12 minutes in total. Remove the chicken from the pot.
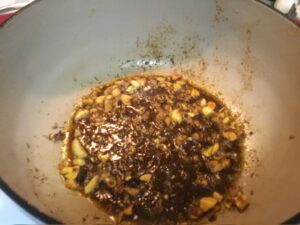
- Sauté the onions, remaining garlic and lemongrass, thyme, smoked paprika, curry powder, and cayenne pepper for 2 minutes.
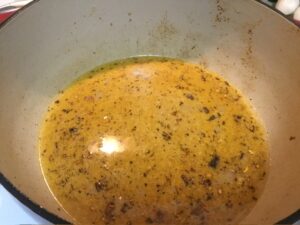
- Pour in the coconut milk and water; scraping the bottom of the pot.
- Place the chicken back into the pot. Bring to a boil, cover, and place in a 350 degree oven for up to 90 minutes; basting with the sauce every 20 minutes.
- The last 30 minutes of cooking, add in the fingerling potatoes. Let cool before serving.


The Best Italian Sausage Meat Sauce
The Best Italian Sausage Meat Sauce
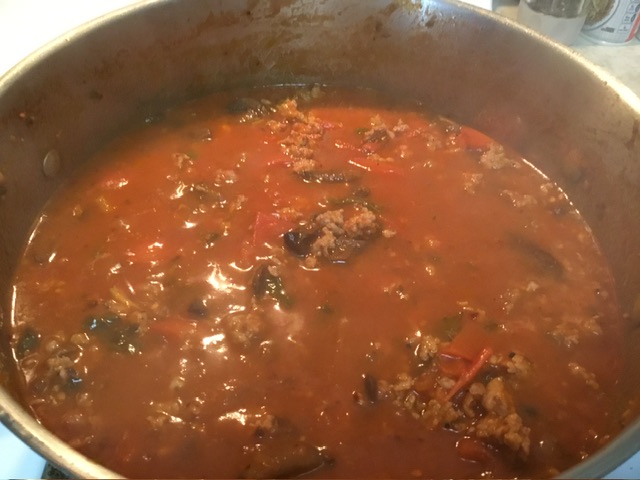
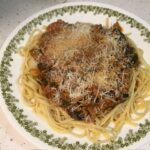
I love me a good meat sauce; whether it’s ground beef or in this case, Italian sausage. Once you try this sauce, there will be no reason to buy jarred pasta sauce again. This meat sauce is obviously great over any pasta of your liking; mine being linguine; but is also a great base for lasagna and even pizza.
Ingredients
- 2 tbsp olive oil
- 1 lb pork Italian sausage
- 1 small yellow onion
- 1 head garlic minced
- 8 oz crimini mushrooms sliced; optional
- 1/2 cup tomato paste
- 2 lbs roma tomatoes diced
- 1/4 cup fresh oregano chopped
- 1/2 cup Italian basil chopped
- 2 tsp salt
- 1 tbsp crushed red pepper optional
- 1 lb linguine prepared according to box directions
- parmesan cheese shredded
Instructions
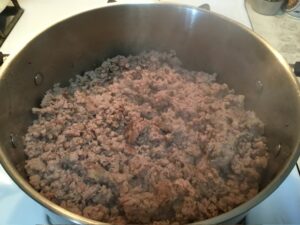
- Brown your Italian sausage in olive oil in a large saucepan over medium heat for 8 minutes. Remove the Italian sausage from the pan.
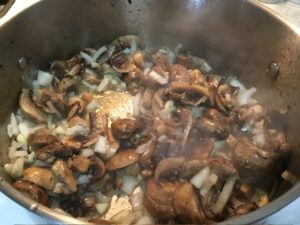
- Add in the onions, garlic, and optional mushrooms. Cook for 5 minutes.
- Stir in the tomato paste. Cook for 2 minutes.

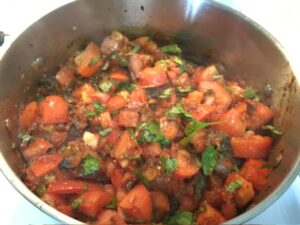
- Add in the diced tomatoes, oregano, basil, salt, and optional crushed red pepper. Cover and cook for 10 minutes.
- Stir in the Italian sausage.
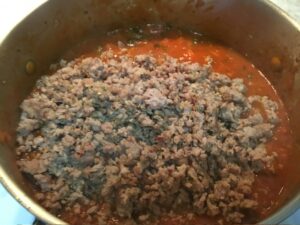
- Cover and simmer over medium low heat for 10 minutes.


Smoked Pineapple Salsa
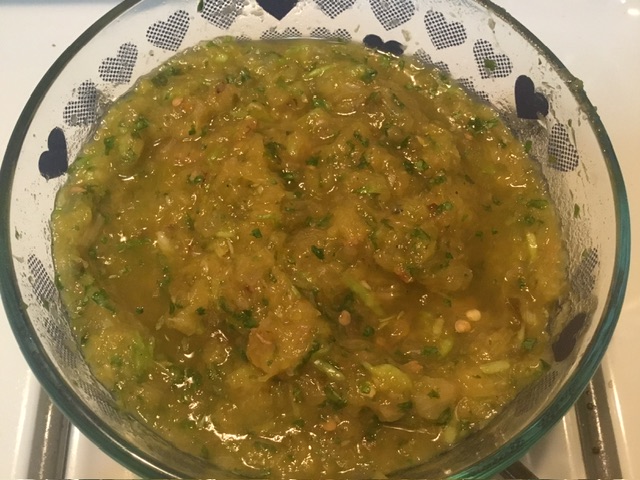
Smoked Pineapple Salsa
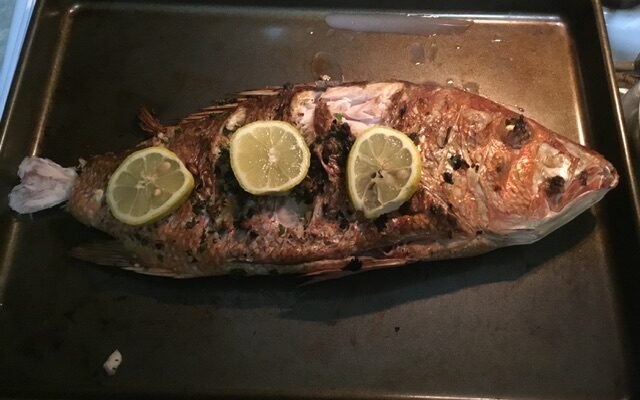
I came up with the idea of smoking a pineapple salsa to go with pulled pork tacos for a birthday party. It was a hit. While still maintaining its sweetness to cut through the heaviness of the pork, the salsa had a great smokey flavor from the cherry and peach wood. This salsa is good for 5 days in the refrigerator. Not only does this pair great with pork, but chicken, fish, and shrimp as well.
Equipment
- Electric Smoker
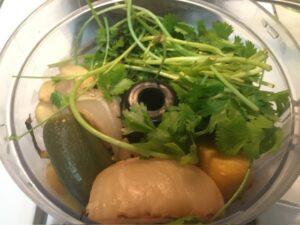
- food processor
Ingredients
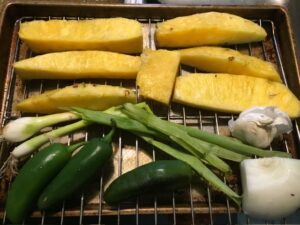
- 1 pineapple peeled and cored
- 1 small white onion peeled
- 1 head garlic
- 3 green onions
- 3 jalapeños
- 2 serrano peppers
- 1/2 bunch cilantro
- 1/4 cup white vinegar
- 2 tsp salt
Wood Chips
- 1/2 cherry wood
- 1/2 peach wood
Instructions
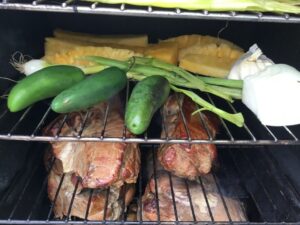
- Place the pineapple, onion, green onions, garlic, and peppers on the smoker grate.
- Smoke in a preheated 250 degree smoker for 2 hours.
- Take the produce out of the smoker. Allow to cool. Peel the garlic and cut the bottom ends off the green onions.

- Place smoked ingredients along with the cilantro, vinegar, and salt in a food processor. Pulse a couple of times and refrigerate.