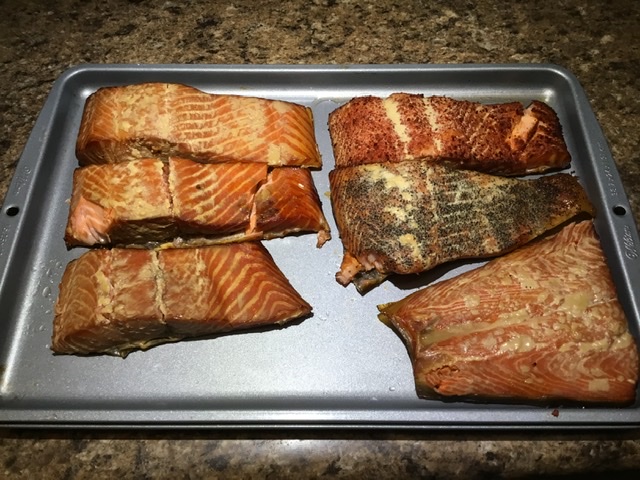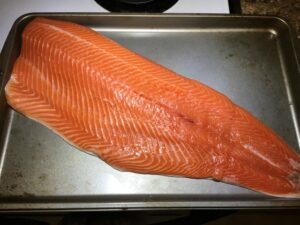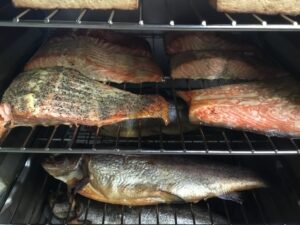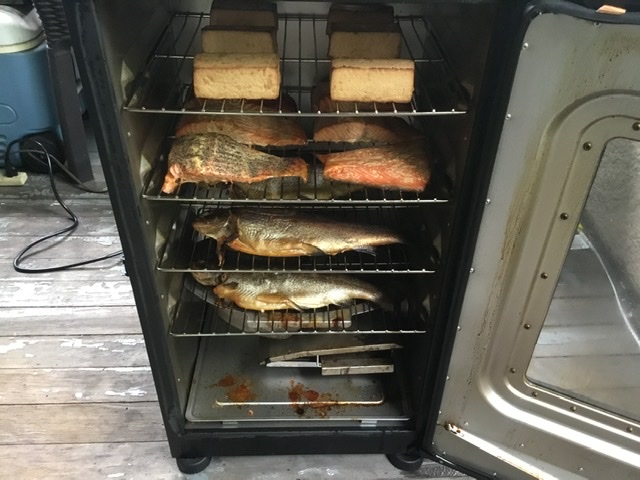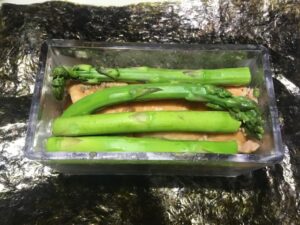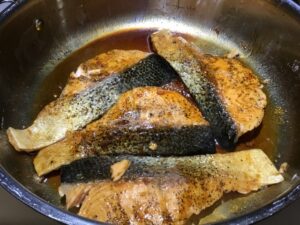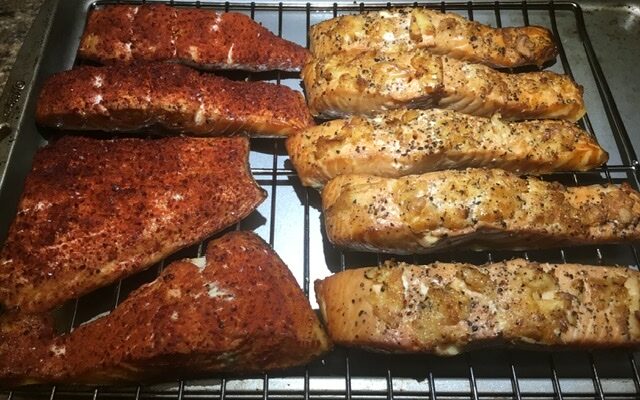
Alder Wood Hot Smoked Salmon
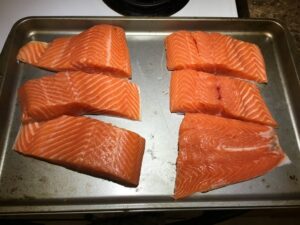
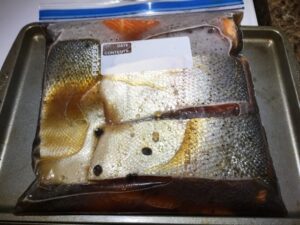
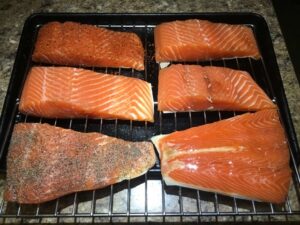
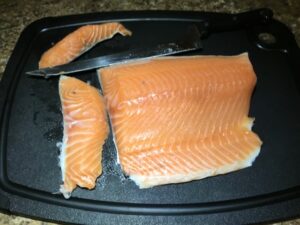
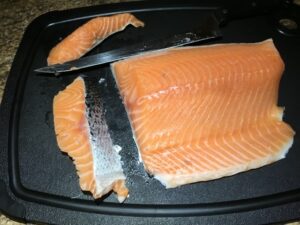
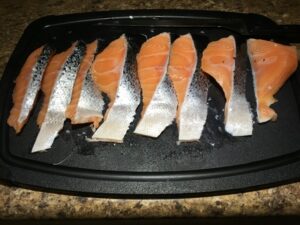
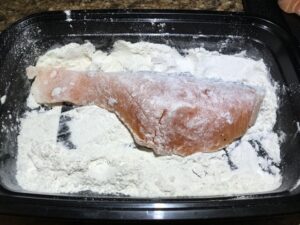
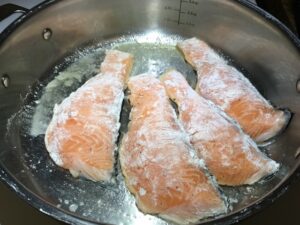
Tips For Smoking Salmon Farm raised salmon works best for smoking. Cut a whole fillet into 4-6 oz portions to allow for faster smoking time. Brine salmon fillets for 4 hours, max. Pat dry fillets with paper towels. If adding additional seasoning, do so now. …