Tag: vegetarian

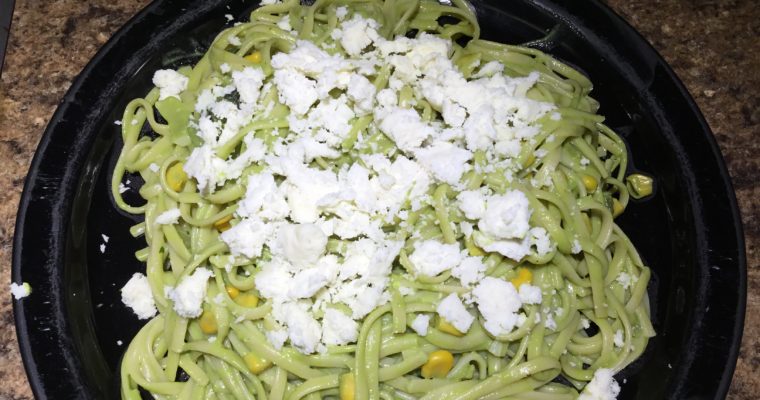
Sweet Corn Tamales

Sweet Corn Tamales
There are many different types of tamales. Most people are used to seeing either pork or chicken tamales served with either a green or red sauce. These sweet corn tamales are considered a dessert tamale. They are still served with sour cream and some hot sauce. There are many extra ingredients that you can add to the dough if you’re looking for more than just sweet corn. Egg yolks, cinnamon, cream, and cheese would be great additions to the dough.Assembling the tamales is pretty simple. Place dough in the center of the husk. Fold over right, bottom, left, then roll up. Easy enough. While not necessary, I like to roll them up again in another husk. When steaming the tamales, make sure to line the bottom of the steamer basket with extra husks and that no water is touching the tamales. You only need 1” of water in the bottom of your pot. These will take 75 minutes to steam. When finished, let sit for 15-20 minutes before you serve them. They will need a little time to settle and firm up. Serve the tamales with sour cream and a hot sauce of your liking.These can be made with fresh sweet corn and husks. It takes about 5 ears of corn to yield 6 cups of kernels. Make sure to thoroughly clean the fresh husks of any silt. You will want to layer up the corn husks will fresh ones. Other than that, they assemble and cook the same way.
Equipment
- food processor
- steamer
Ingredients
- 6 cups sweet corn
- 1 1/2 cups masa flour
- 1 1/2 cups butter
- 1/2 cup sugar
- 1 tsp baking powder
- 1 tsp salt
Instructions
- Bring a pot of water to a boil. Pour over the corn husks, making sure that they are completely submerged. Weigh them down with the pot you boiled the water in. Let soak for 40 minutes. While the husks are soaking, you can start to prepare the dough.
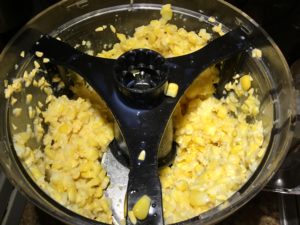
- In a food processor, lightly pulse the corn until it is coarsly chopped, but not puréed.
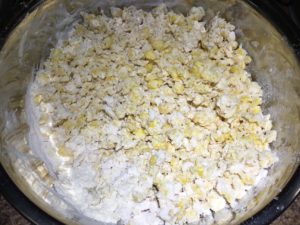
- Mix the corn together with the masa flour.
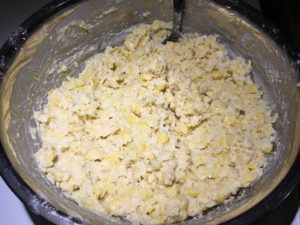
- In a separate bowl, mix together the butter, sugar, and salt.

- Add the butter mixture to the corn mixture. Mix thoroughly. Add in the baking powder and mix.
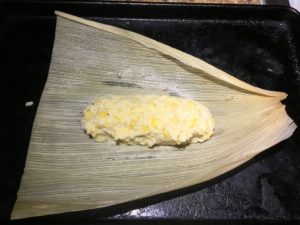
- When the husks are ready to use, pick out the biggest ones. Depending on how big you want your tamales, use either 1/3 cup of the dough for smaller tamales or 1/2 cup of dough for larger tamales. I made larger ones, obviously. Place the dough in the center of the husk like so, forming into a cylindrical shape. Fold over the right side first; then the bottom upwards; then the left side over; then roll. At this point they are ready. I like to personally roll them up again in another husk.
- If making large tamales like I did, the dough recipe will yield a dozen. If making smaller ones, you will yield 16-20 tamales.
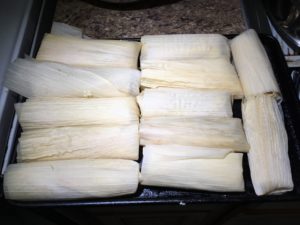
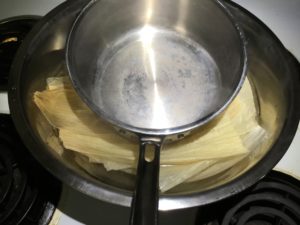
- Line the bottom of a steamer pot basket with some of the smaller corn husks that you didn’t roll up. Place the tamales in the steamer standing upright. If the pot isn’t ham packed, fill the gaps with the remaining husks. Cover the top of the tamales with more husks.
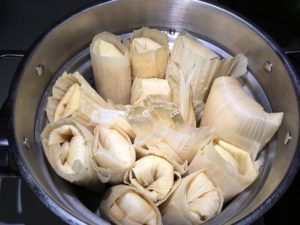
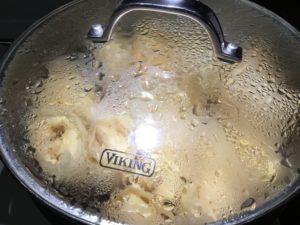
- Add no more than an inch of water to the bottom of the steamer pot. Bring to a boil, then turn the heat down to medium. Place the steamer pot basket in the pot, covered with a lid. Steam for 75 minutes.
- Let sit for 15-20 minutes before serving. They will firm up quite a bit.
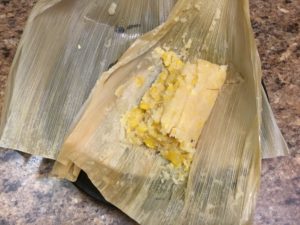
- I like to serve these with a little sour cream and a couple drizzles of hot sauce.


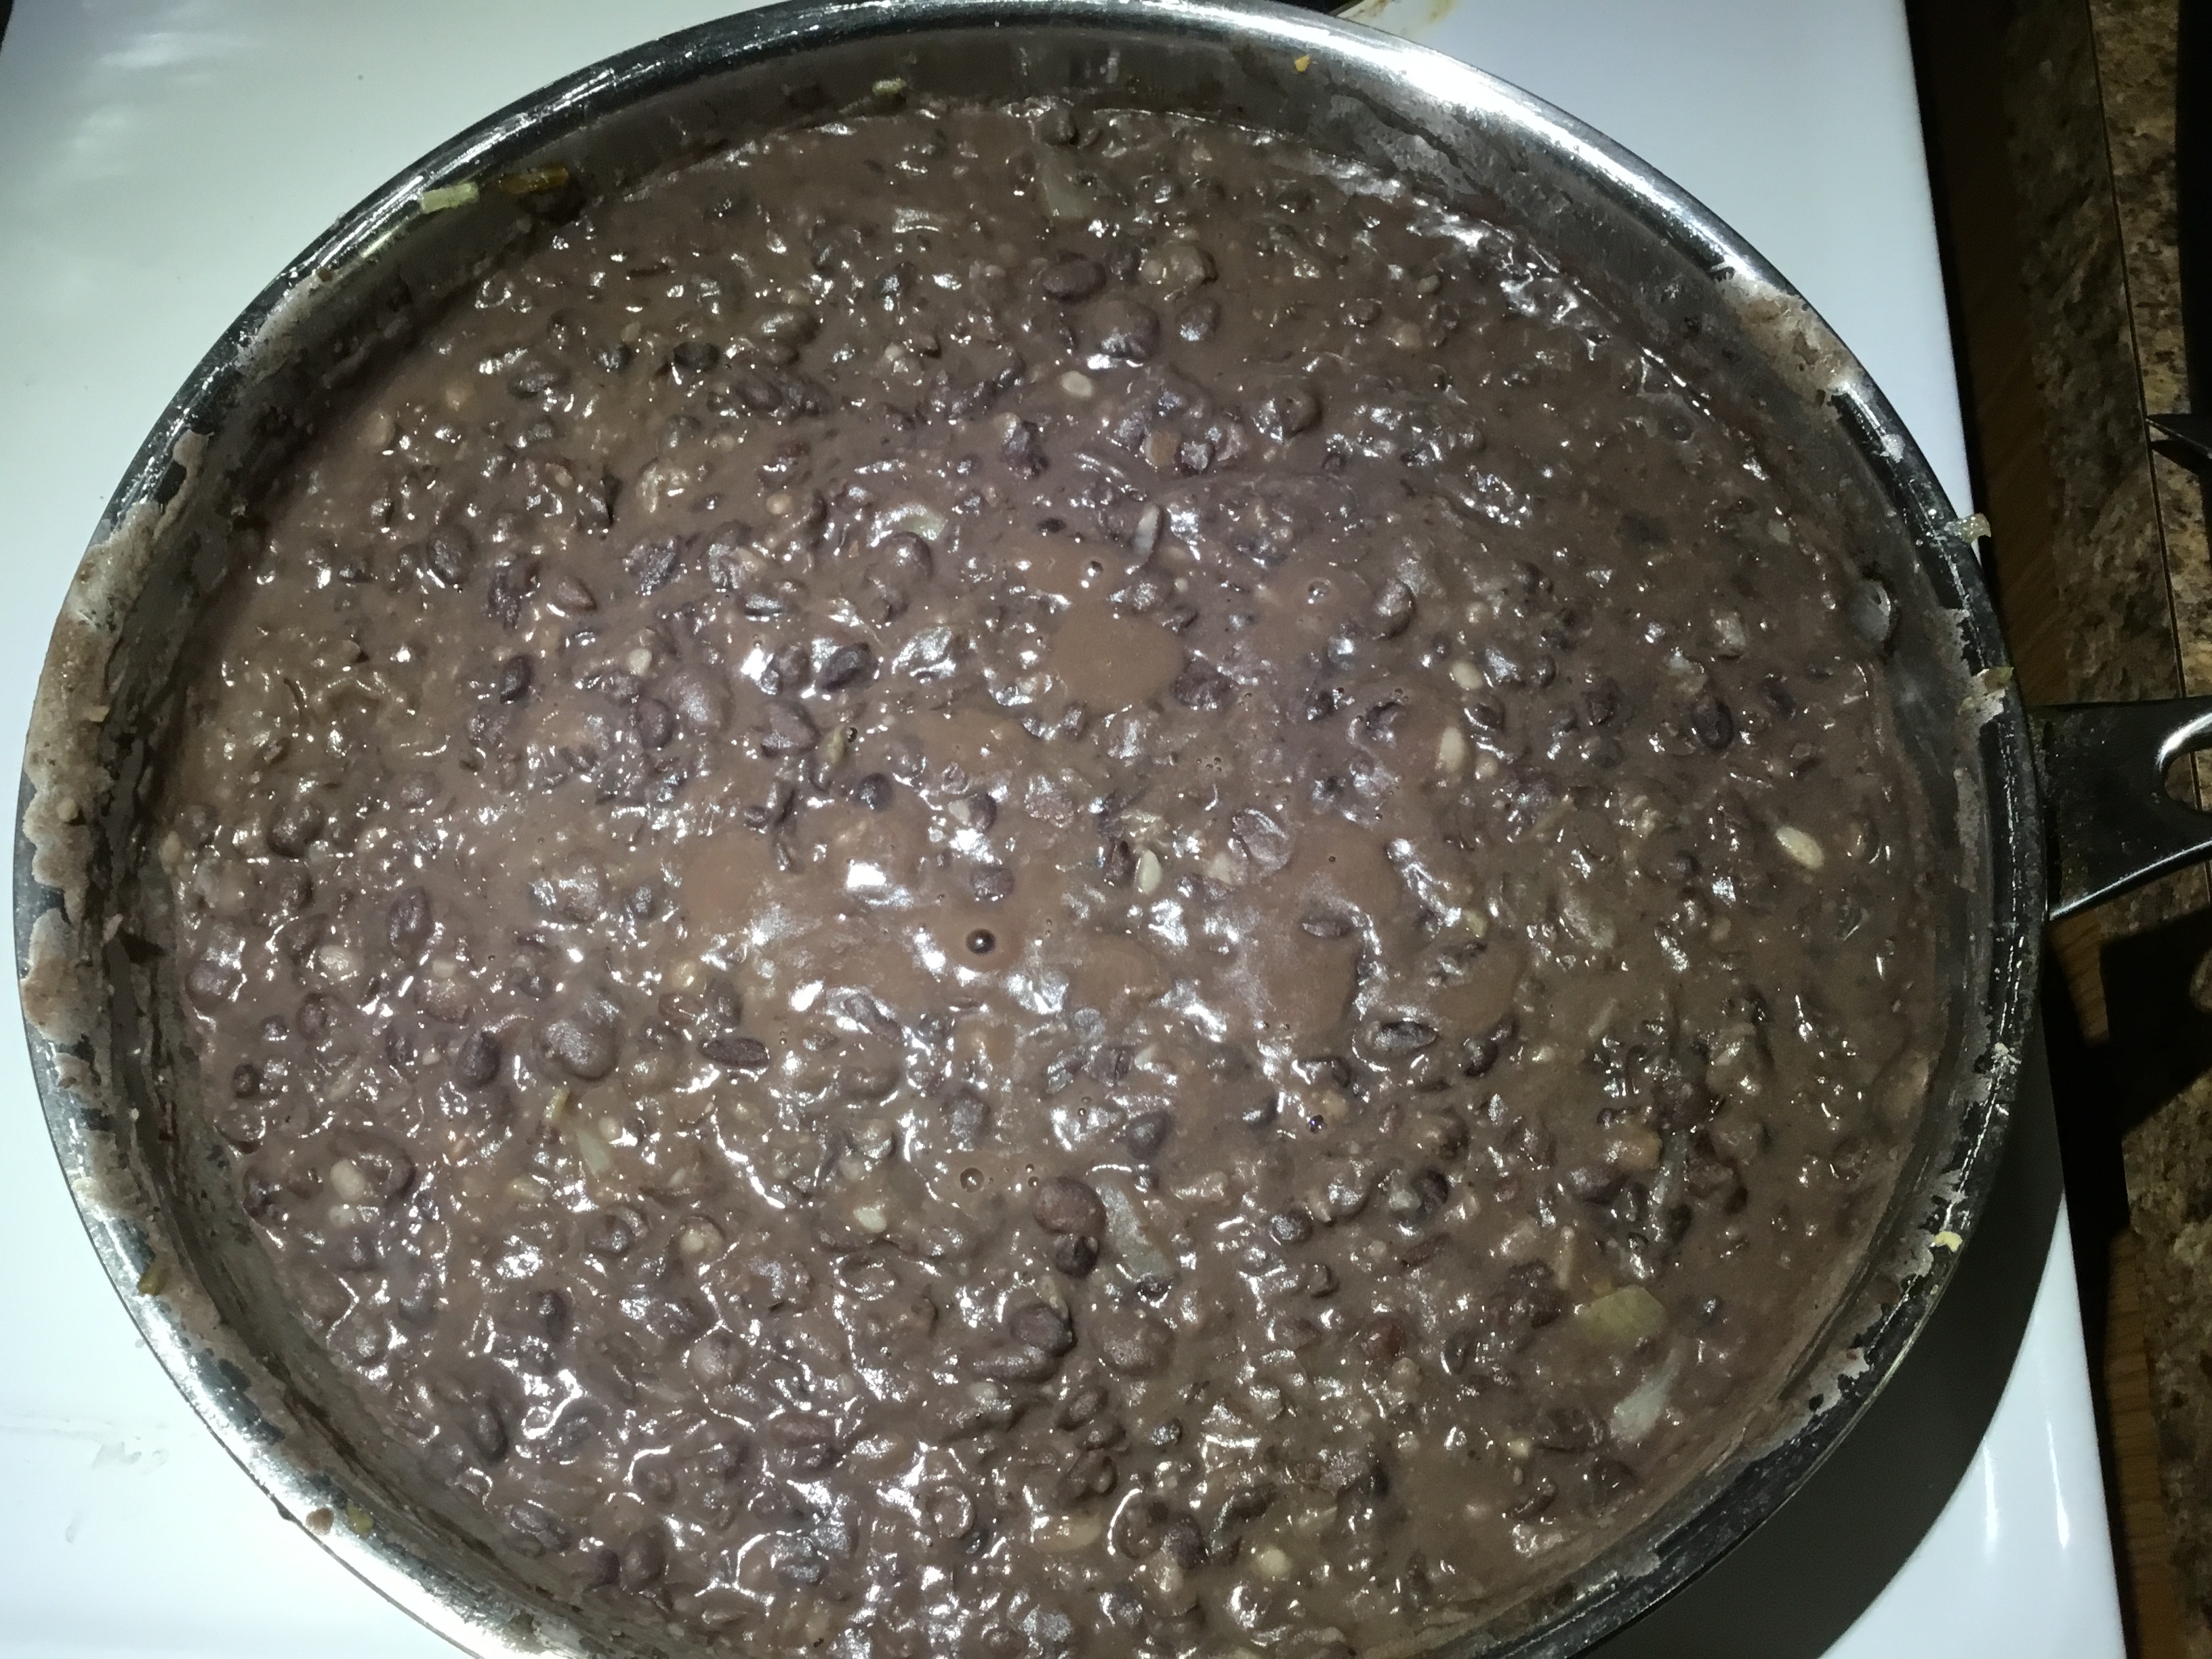
Refried Black Beans (Instant Pot)
Refried Black Beans (Instant Pot)
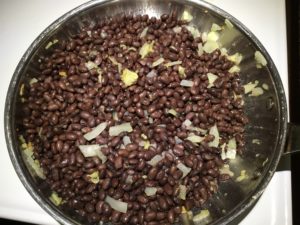
I love beans of all kinds, but am very partial to black beans. I like them even more refried as opposed to refried pinto beans. Refried beans are a staple in Mexican cuisine. There are many additions you can add to the beans such as jalapeño, chorizo, fried pork skin, etc. This recipe is a very basic refried bean recipe that is also vegan if you cook in oil instead of lard and add no cheese.As I’ve ranted before, I’m not a fan of canned beans. I think that they are too soft. Plus I don’t like all of the extra salt added to them. Having an Instant Pot has made boiling beans enjoyable. You don’t have to soak the beans overnight and then cook for at least an hour or more. It takes 30 minutes total in the Instant Pot. No soaking required. A 1lb. bag of dried black beans (about $1.49) yields 6 cups of cooked beans, or about 4 cans worth of beans (about $4.00). A major difference in quality and you save money.If you don’t have a bean masher, you can use the bottom of a ramekin or a cup for the mashing. I recommend investing in a bean masher. They are less than $10. The mashing process will take at least 5 minutes, depending on how smooth you want your beans. Just like homemade mashed potatoes, I feel there is nothing wrong with a few lumps here and there.
Ingredients
- 3 cups cooked black beans
- 2 tbsp vegetable or canola oil, or lard
- 1/2 medium onion diced
- 6 garlic cloves minced
- 1-2 cups black bean stock from Instant Pot
- salt and pepper to taste
Garnish
- crumbled queso fresco
Instructions
Dried Black Beans in an Instant Pot
- Put a 1/2lb. of dried black beans in the Instant Pot with at least 8 cups of water. A 1lb bag of dried beans yields 6 cups cooked, or about 4 cans if not using dried. Set on the Pressure Cooker function on high for 30 minutes.
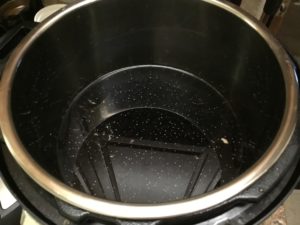
- When he 30 minutes is up, drain the beans and set aside.
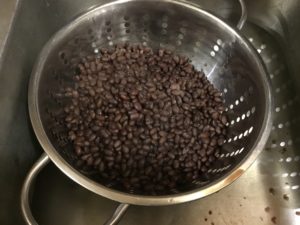
- Save the black bean juice when draining the beans. You’l will need to use some of this when making the refried beans.
Refried Black Beans
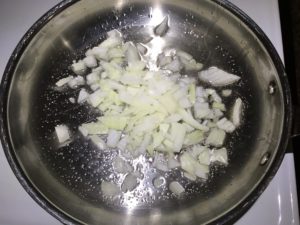
- In a large sauce pan over medium high heat, add the cooking oil. Add the diced onions. Cook for 3-4 minutes.
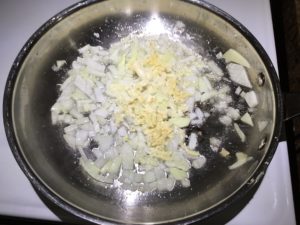
- Add in the garlic and sauté fro 2 more minutes.
- Stir in the black beans, salted pepper. Cook for 3 minutes.
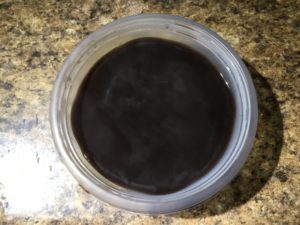
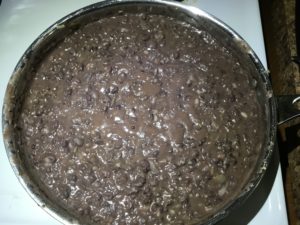
- Reduce the heat to medium low. With a bean masher, start mashing the beans while simultaneously incorporating the black bean stock that you saved. Continue mashing all of the beans until they are smooth and creamy, slowly adding in more of the stock as needed. You will end up using around a cup of the stock.

- The overall bean mashing process will take about 5 minutes if you want the beans to be smooth.
- Serve the refried black beans as a side dish. Garnish with crumbled queso fresco.


Ethiopian Collard Greens

Ethiopian Collard Greens
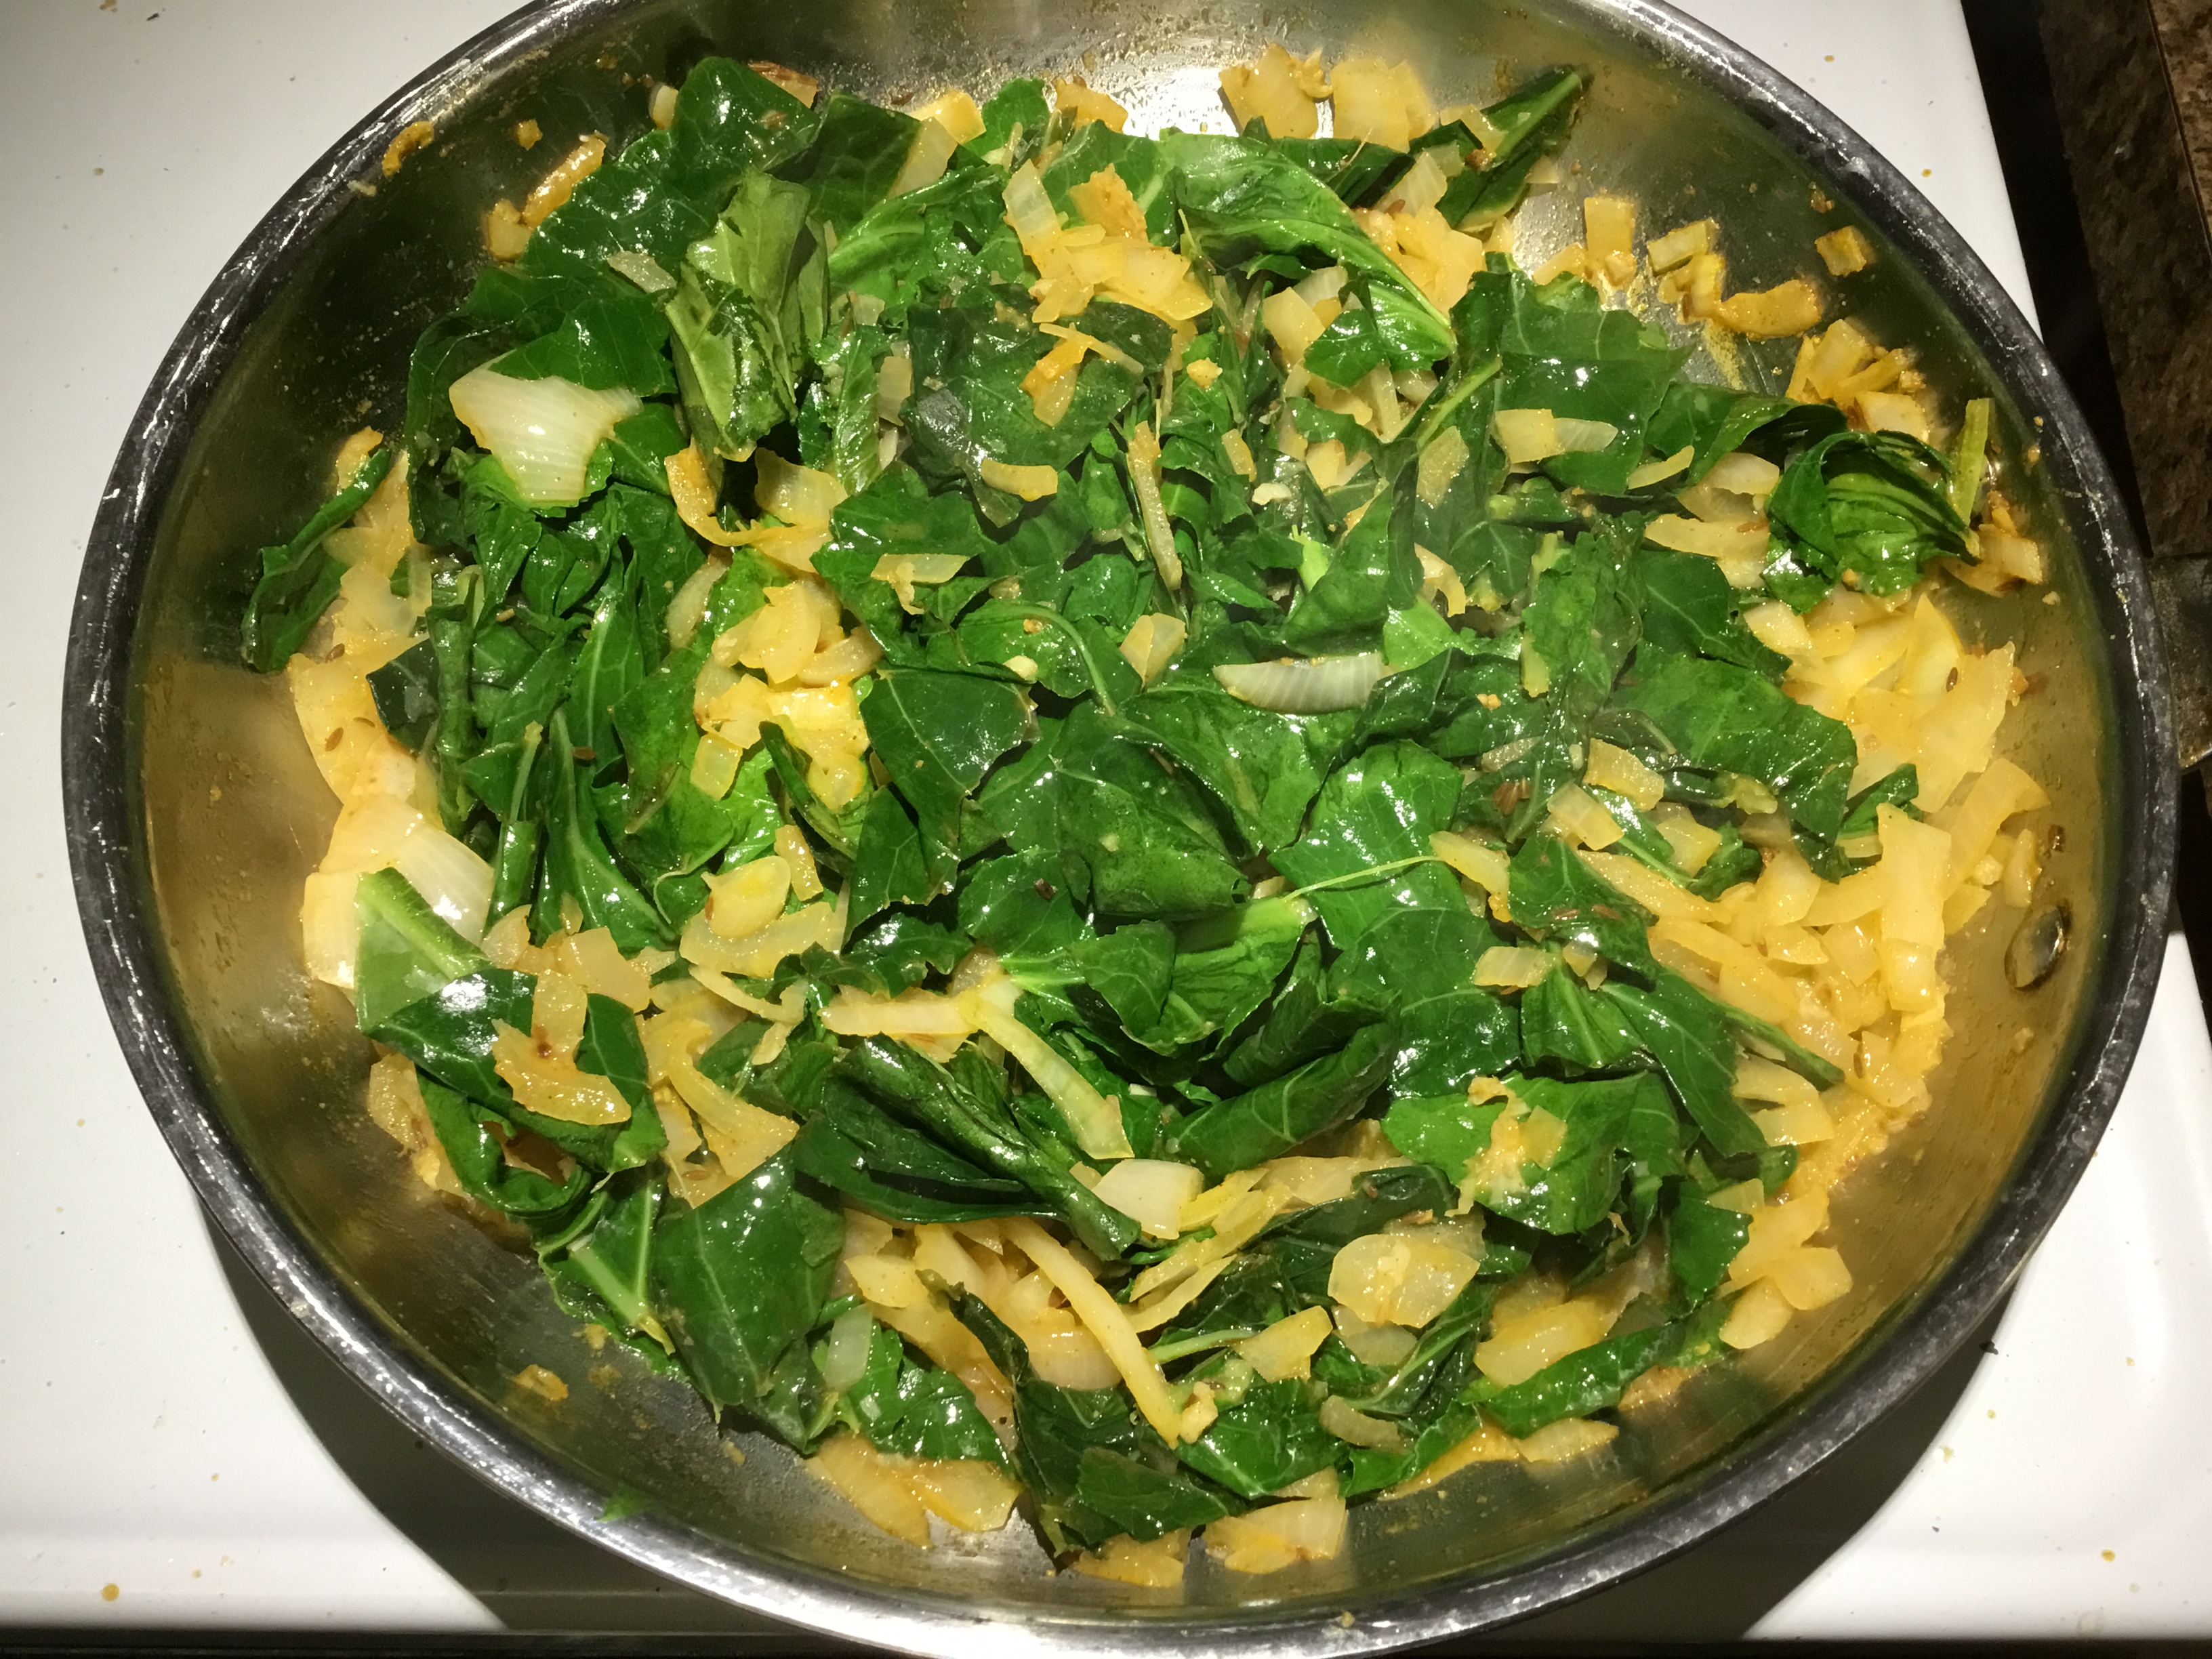
Ethiopian collard greens are great side dish that is quick and easy to make; not to mention greens are very nutrient dense. If you aren’t a fan of collards, you can substitute them with kale, spinach, or mustard greens.
Servings: 4
Ingredients
- 1 bunch collard greens chopped
- 3 tbsp butter
- 1 large white onion diced
- 1 1/2 tsp minced ginger
- 1 tbsp minced garlic
- 1 tsp smoked paprika
- 1/2 tsp cardamom
- 1 tsp coriander
- 1 tsp cumin
- 1/2 tsp cayenne pepper
- 1/2 lemon, juiced
Instructions
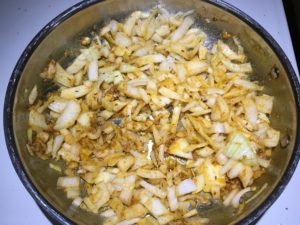
- In a large sautée pan melt the butter and spiced together. Cook for 30 seconds. Add the onions, garlic, and ginger and cook for 5 minutes.
- Chop the collard greens into strips. Most importantly, wash your greens. They grow in the dirt with cow shit. Always wash your vegetables!. Add them to the onions. Stir frequently.
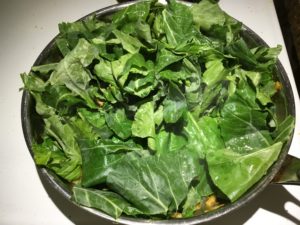
- Sauté the greens for about 10 minutes. They should be wilted, but tender. Right before turning off the heat, squeeze the juice of a half a lemon over the greens.