Tag: dessert
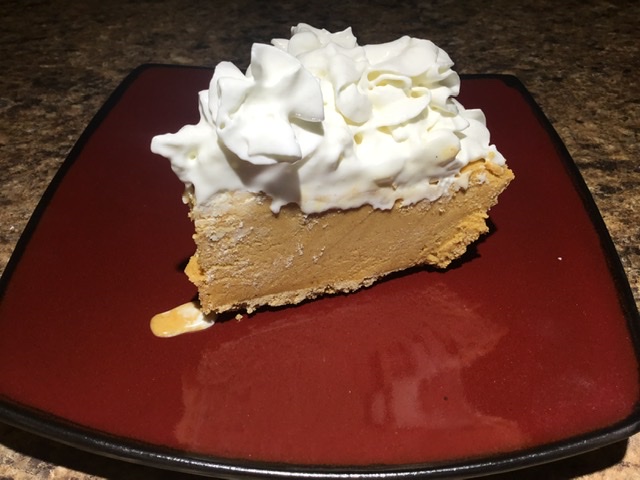
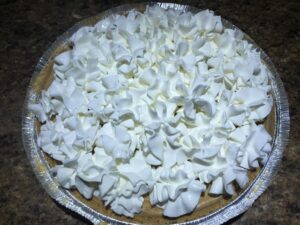
Pumpkin Ice Cream Pie

Pumpkin Ice Cream Pie
This is the first recipe under the new category on Stoned Soup called “Things High Asses Create.” All of the recipes were highly influenced while smoking and pontificating recipes. I wanted to make something other than the traditional pumpkin pie for thanksgiving. The jack diesel/pineapple chunk joint I was smoking told me that I needed to make pumpkin ice cream and put it in a pie crust. I listened to the cheeba and created this ice cream pie, bestowing upon mankind.
Servings: 6
Equipment
- ice cream maker
Ingredients
- 1 cup canned pumpkin
- 1 tsp vanilla
- 2 cups heavy whipping cream
- 2 tbsp light molasses
- 3/4 cup brown sugar
- 5 large egg yolks
- 1/2 tsp ground ginger
- 1/2 tsp cinnamon
- 1/2 tsp nutmeg
- 1 graham cracker pie crust
- whipped cream
Instructions
- Mix together the pumpkin and vanilla. Set aside.

- In a bowl, mix together the egg yolks, 1/2 cup of heavy cream, cinnamon, ginger, and nutmeg. Set aside
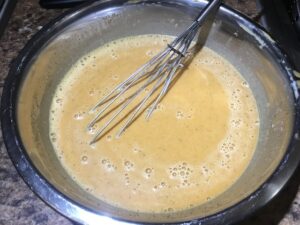
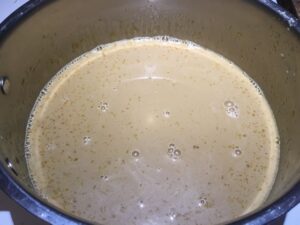
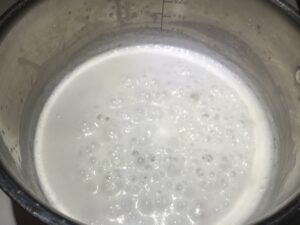
- In a cold kettle, whisk together 1 1/2 cups of cream, brown sugar, and molasses.
- Turn the heat on to medium high. Continue whisking for 5 minutes, never allowing the cream to boil.
- Slowly pour in the hot cream mixture into the egg mixture. Whisk well.

- Pour the mixture back into the kettle. Continue whisking for 5 minutes.
- Pour the mixture into the pumpkin. Mix thoroughly.
- Place the bowl into another larger bowl filled with ice water. Let the mixture cool for 30 minutes. Placd the mixture into the refrigerator and let cool furthermore for 2 hours.

- Pour the mixture into your ice cream machine and use according to the manufacturer’s instructions.
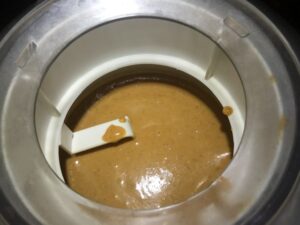
- Churn the ice cream for 25 minutes.
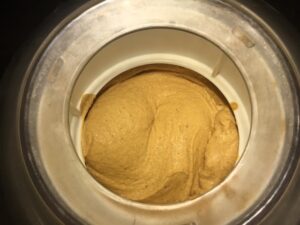
- Pur the ice cream into a graham cracker pie crust. Cover and let firm up for 6 hours.
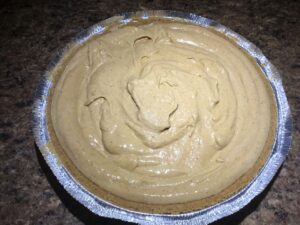
- Top with whipped cream.


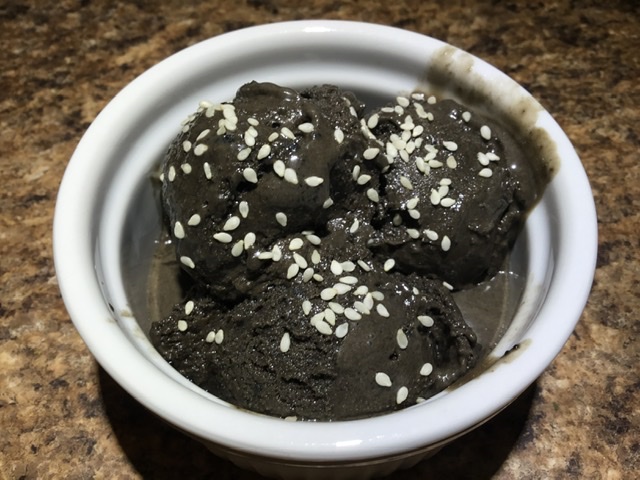
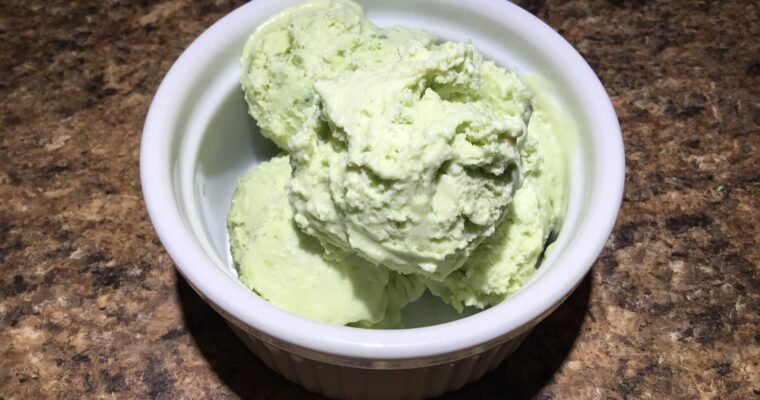
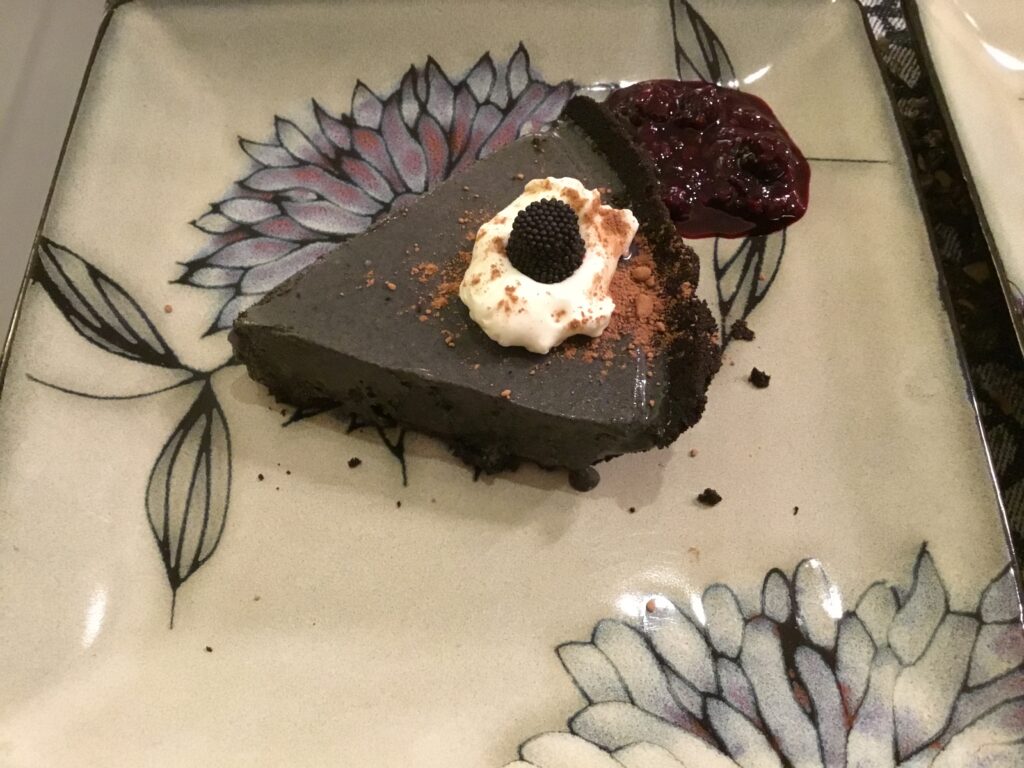
Black Sesame Ice Cream
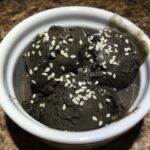
Black Sesame Ice Cream
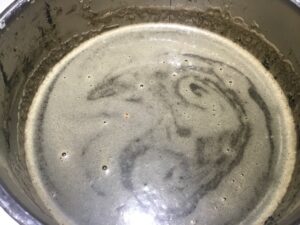
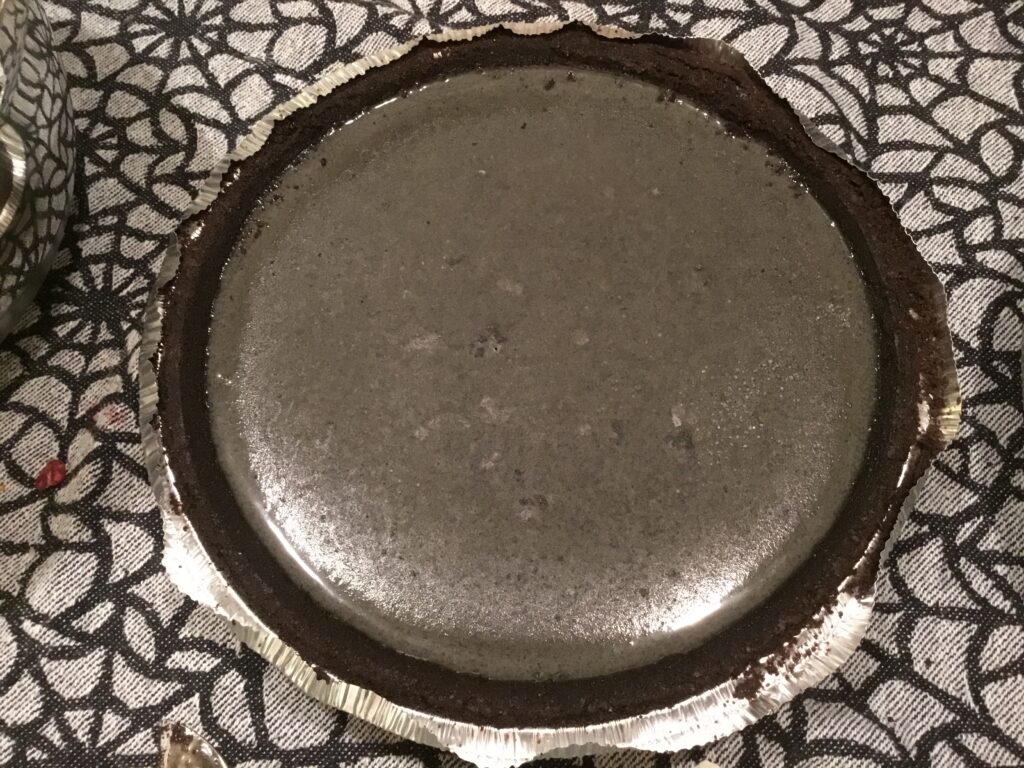
Black sesame ice cream is something special. I was first introduced to it through Japanese ice cream mochi that my past employer sold. It became my favorite mochi flavor. I wanted to learn how to make just the ice cream. So I did.The first time I made the ice cream was for an ice cream pie with an Oreo cookie crust with homemade whipped cream and a blackberry sauce. Must I say, one of the best desserts I’ve ever had. The ice cream is almost chocolatey; kind of reminiscent of peanut butter, and extremely rich. When making this ice cream, it is important to whisk together the egg yolks, sugar, and salt in a cold pot. Whisk in the cream and milk. Then turn on the heat to medium low. You will need to whisk the entire time of cooking to ensure that the yolks don’t curdle. After 10 minutes, turn off the heat and whisk in the black sesame paste. Make sure you use paste and not black tahini. Black tahini is raw sesame seeds and is bland. Black sesame paste is roasted black sesame seeds that’s ground into a paste. It is very strong in flavor and will give the ice cream a nutty taste. Chill the batter. Add it to you ice cream machine and churn for 25 minutes. Freeze gor 4 hours before serving.
Equipment
- ice cream machine
Ingredients
- 7 egg yolks
- 3/4 cup brown sugar
- 1 cup heavy cream
- 1 cup whole milk
- 1/4 tsp salt
- 3 tbsp cocoa powder optional
- 2/3 cup black sesame paste
- white sesame seeds optional garnish
Instructions
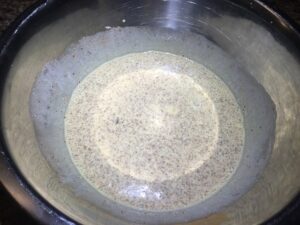
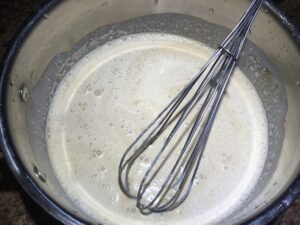
- Whisk together the egg yolks, brown sugar, salt, and optional cocoa in a pot. Pour in the milk and cream. Turn the burner to medium low and whisk continuously for 10 minutes.
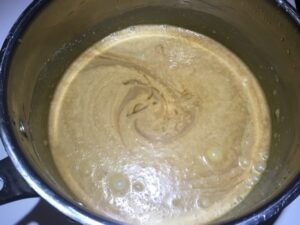
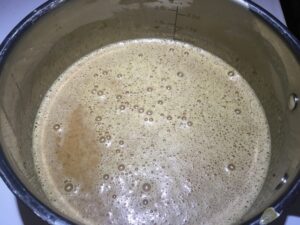
- Take off the heat and whisk in the black sesame paste.
- Pour the ice cream batter in a bowl. Place that bowl in a larger bowl filled with ice to cool down the batter. This will take about 30 minutes.

- Pour the batter into your ice cream machine and use as directed.
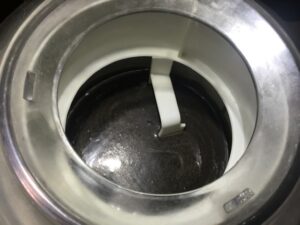
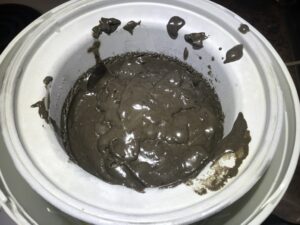
- Churn for 25 minutes. Scoop into a container and freeze for 4 hours before consumption.

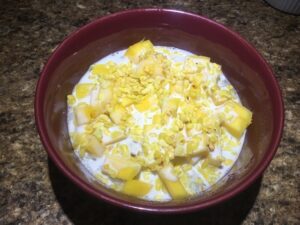
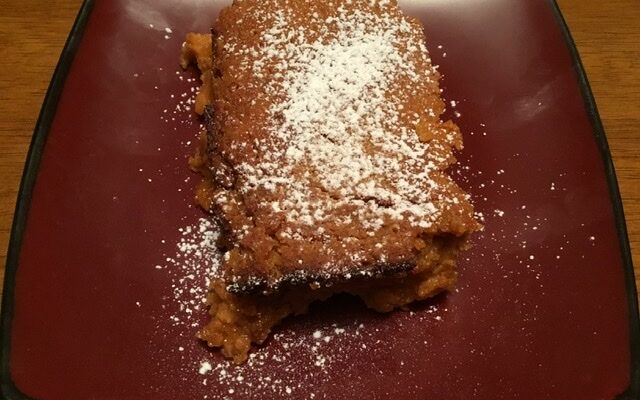
Mango Sticky Rice
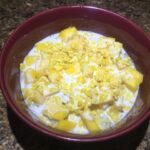
Mango Sticky Rice
If you like sweets, it doesn’t get any sweeter than this mango sticky rice. This might be the ultimate comfort dessert. Sticky rice absorbs the sugary coconut milk. It’s then topped with a salted coconut sauce, mangos, and crispy mung beans. There’s kind of a lot of steps in the preparation, but all of them are really easy.
Servings: 2
Ingredients
Coconut Sticky Rice
- 1 cup glutenous sticky rice cooked
- 2/3 cups coconut milk
- 1/2 cup sugar
- 1/2 tsp salt
- 1/2 ripe mango sliced or diced
Salted Coconut Sauce
- 1/2 cup coconut milk
- 1/4 tsp salt
- 1 tsp glutenous rice flour
- 1 tbsp water
Crisp Mung Beans
- 2 tbsp split mung beans
- 2 cups cold water
- 2 tsp coconut oil
Instructions
Crispy Mung Beans
- Place the mung beans in a pot of cold water. Bring to a boil. Cover. Turn off the heat and let sit for 10 minutes.
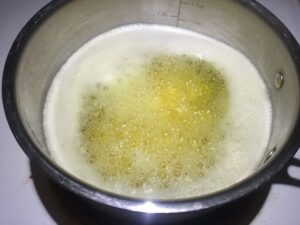
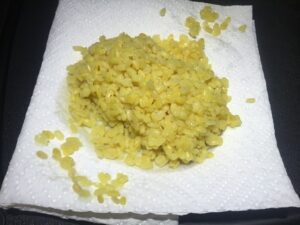
- Drain. Rinse under cold water. Dry on paper towel.
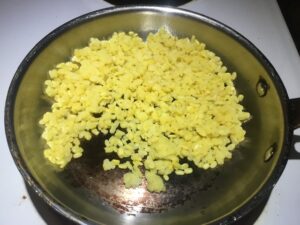
- Heat up cooking oil in a small sauté pan over medium high heat. Add in the mung beans, frying until crispy; about 5-6 minutes.
Salted Coconut Sauce
- Whisk together the rice flour and water in a small pot. Turn the heat to medium. Pour in the coconut milk and salt.
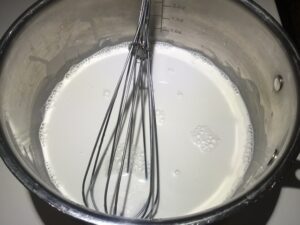
- Bring to a light simmer and let it thicken. Set aside and let cool.
Coconut Sticky Rice
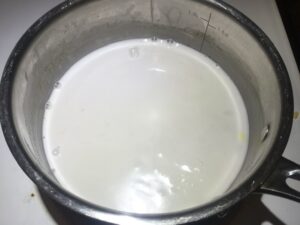
- Mix together the coconut milk, sugar, and salt in a pot over medium high heat. Once the sugar is dissolved, turn off the heat.
Assembly
- Pour the hot coconut milk over the sticky rice. Break up any clumps of rice. Cover and let sit for 20 minutes.
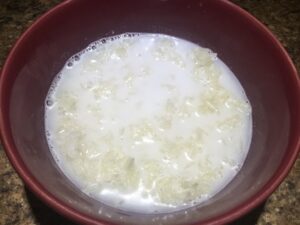
- Top the coconut sticky rice with mangos. Drizzle over the salted coconut sauce. Sprinkle the crispy mung bean on top.